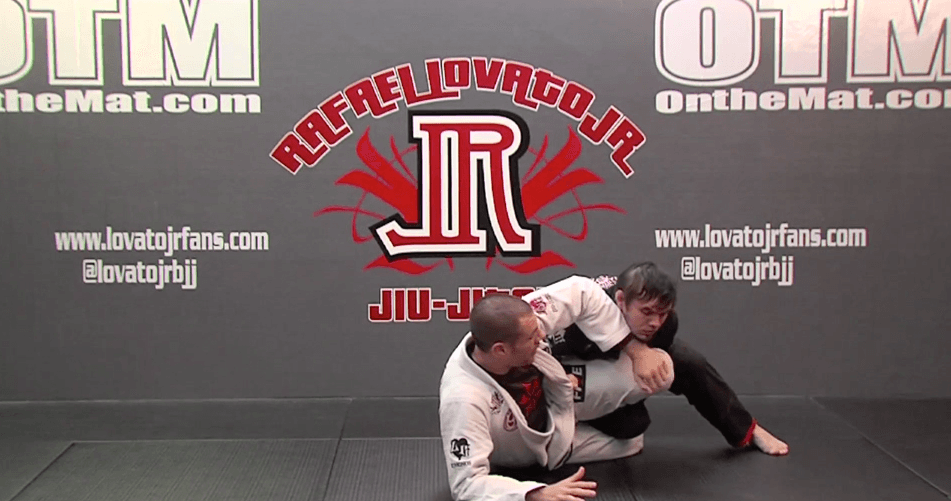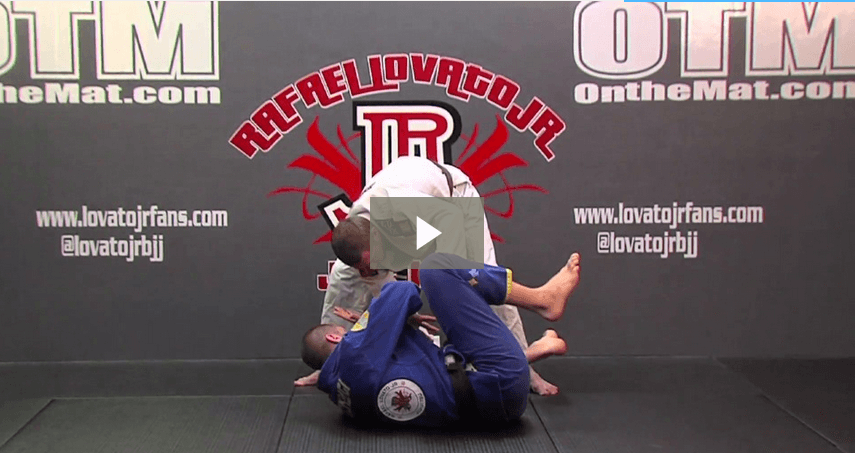
1. Outside Leg Recovery
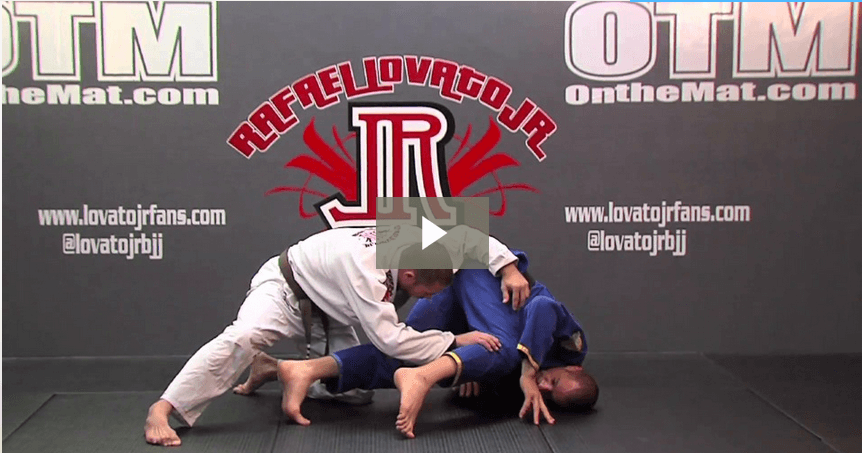
2. Invert Roll
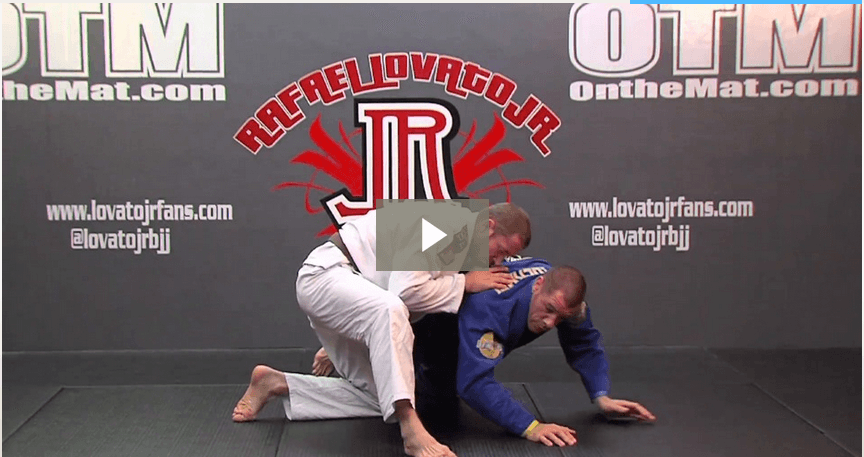
4. Rolling Back To Guard
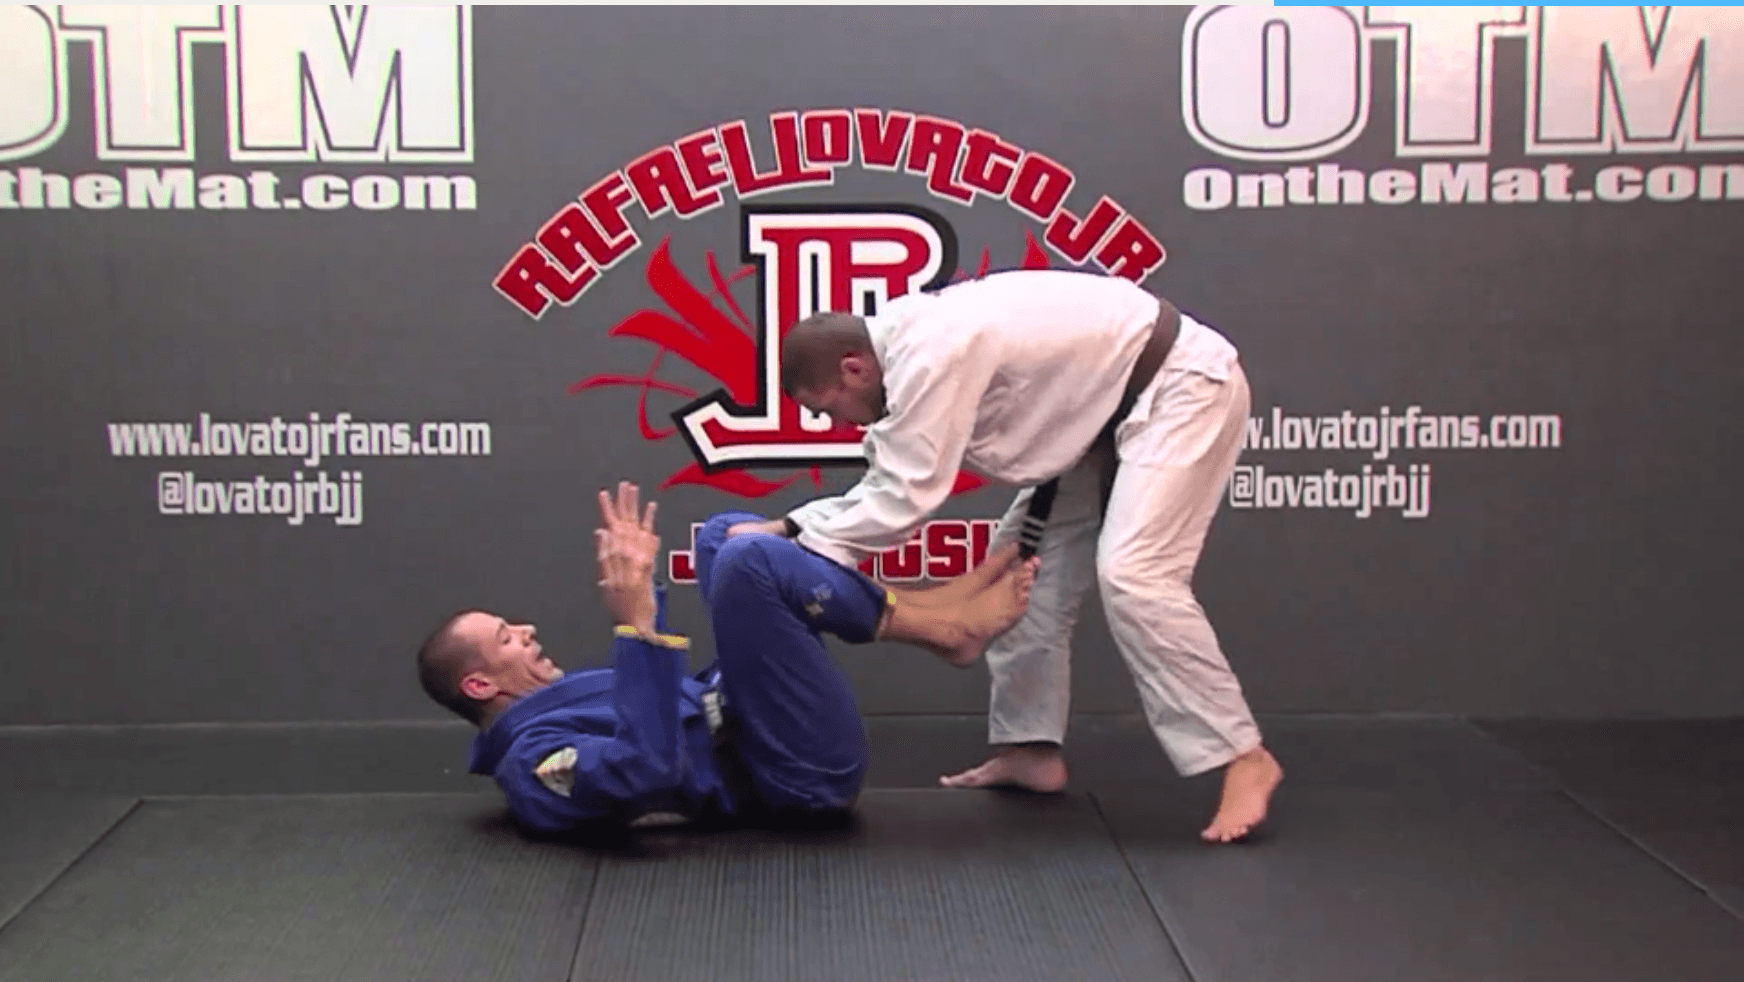
5. Bullfight Counter #1
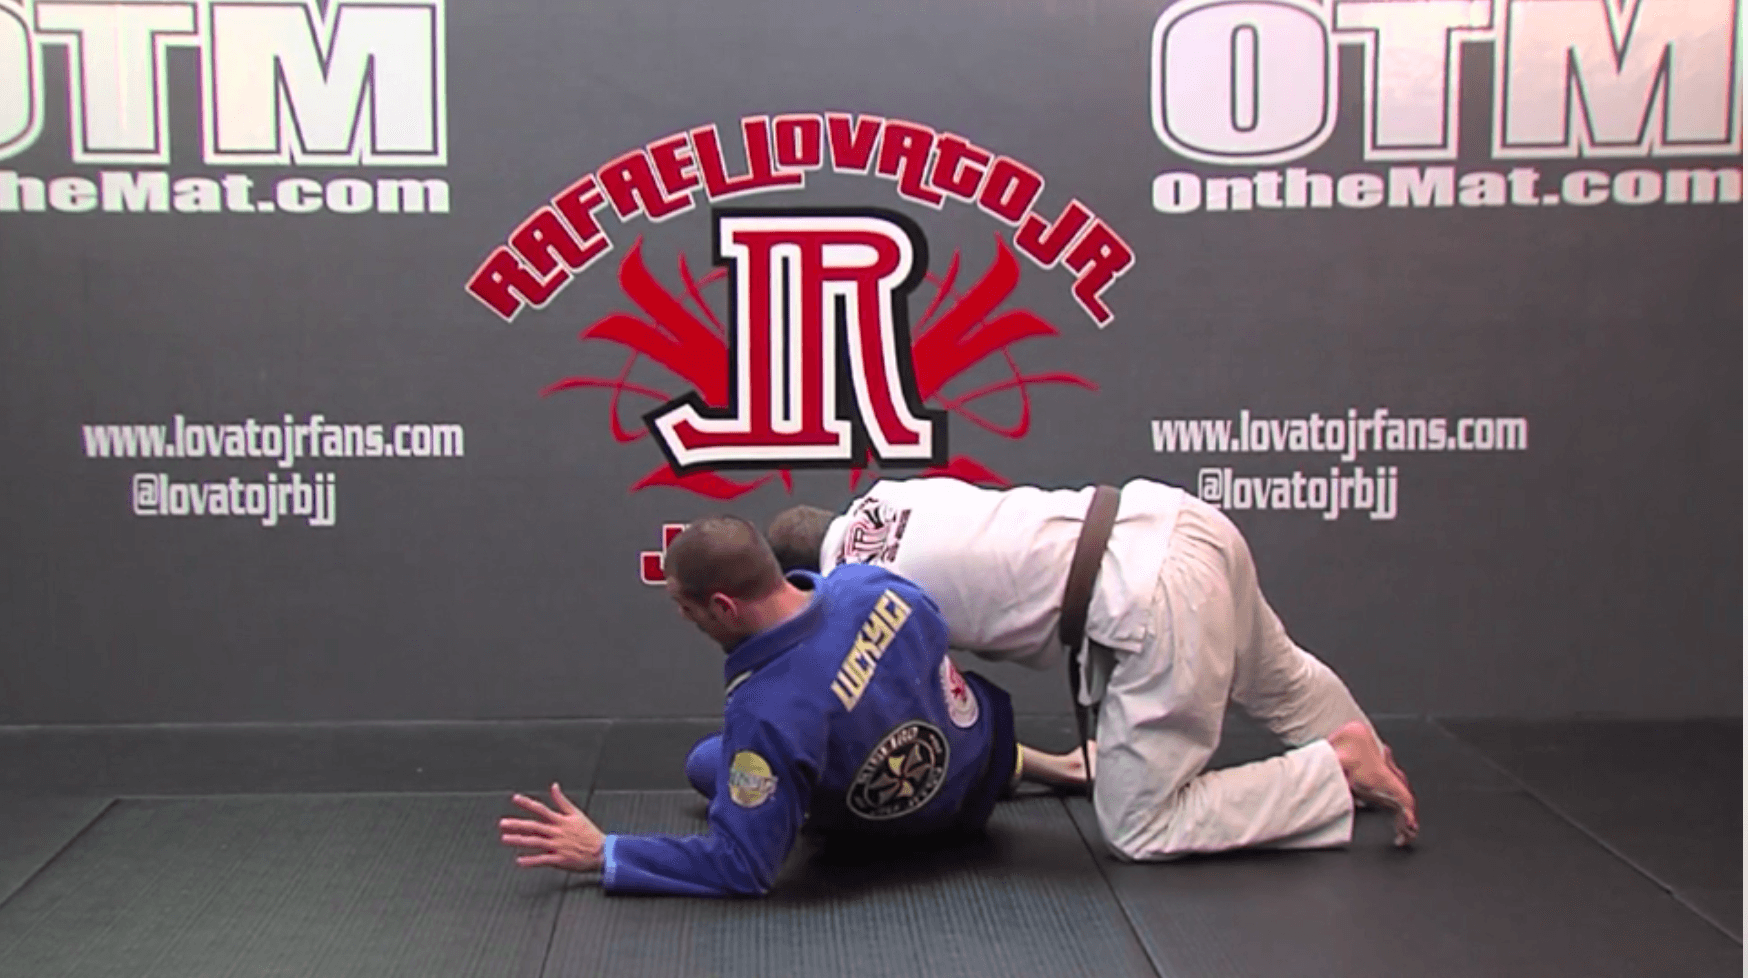
6. Bullfight Counter #2
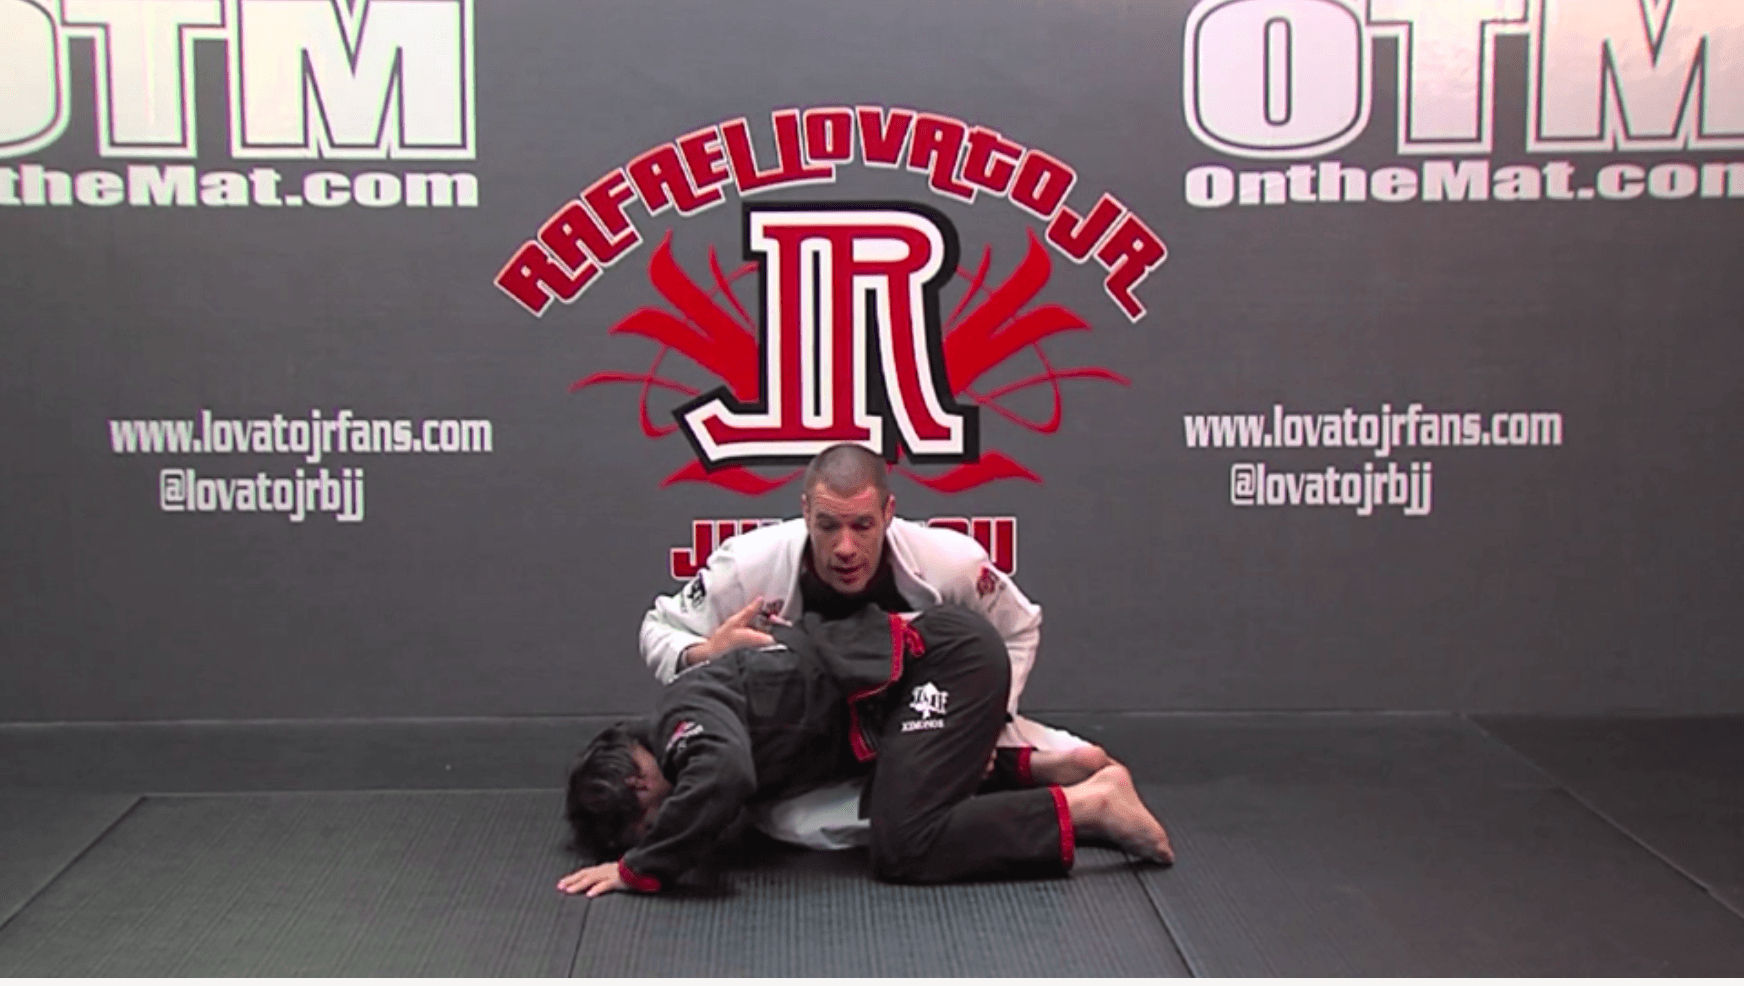
7. Over Under Pass Counter To Back
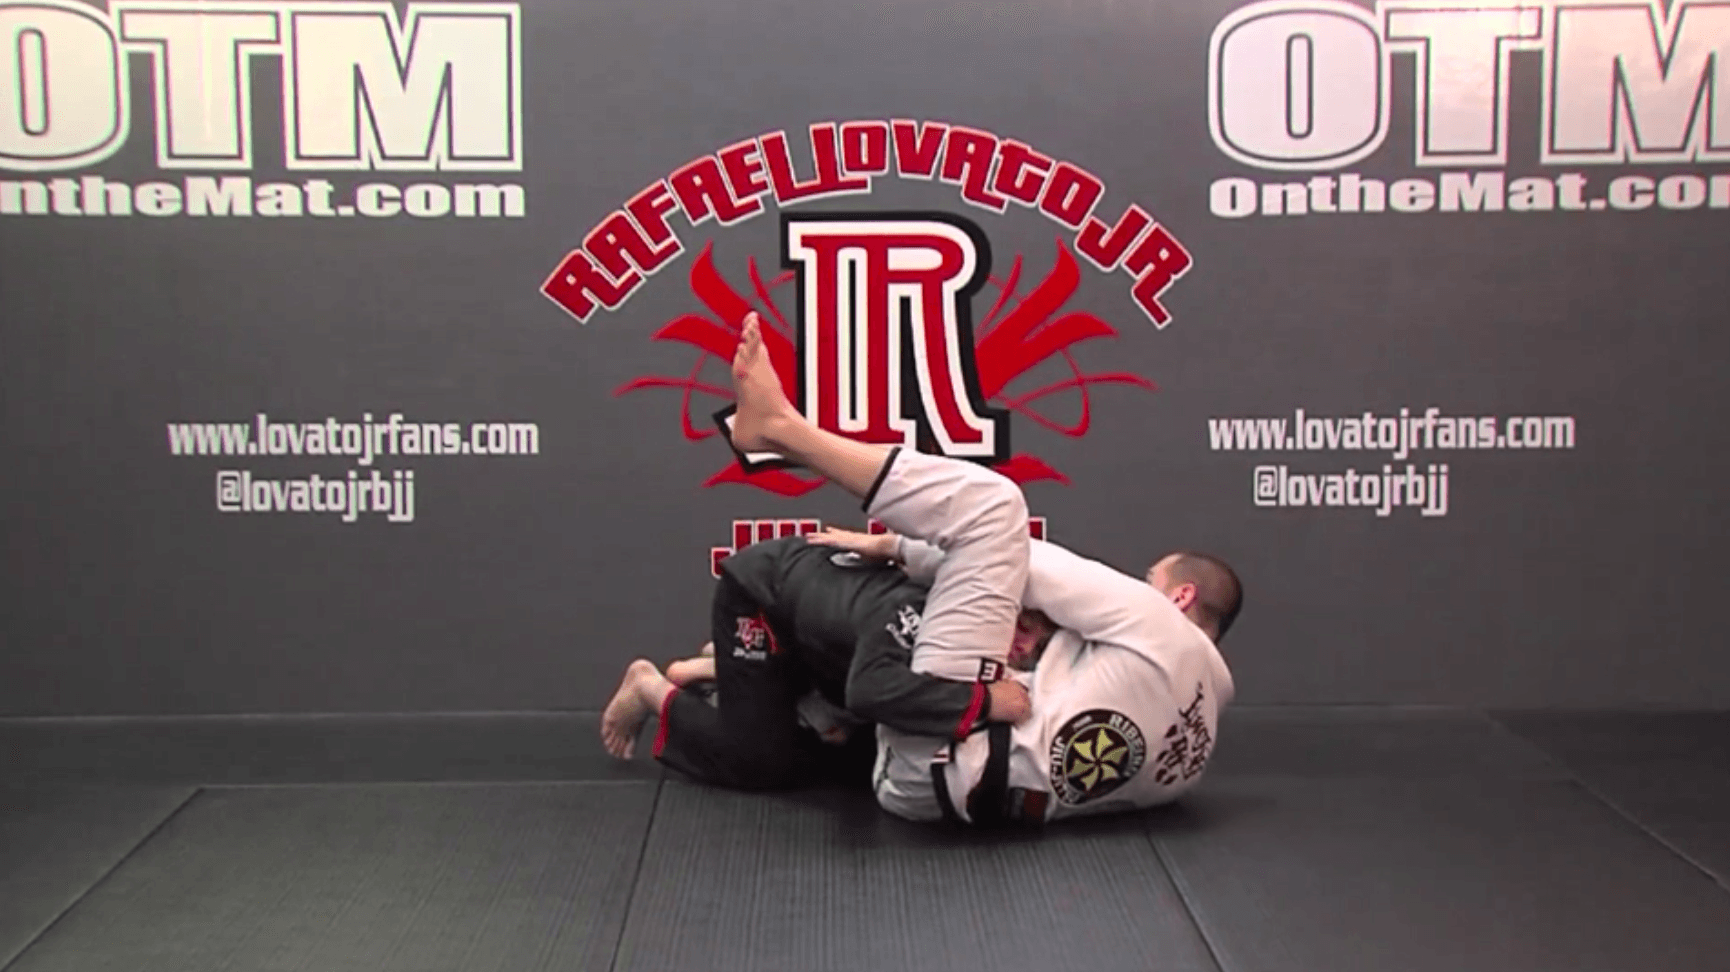
9. Over Under Pass (Counter To Sweep)
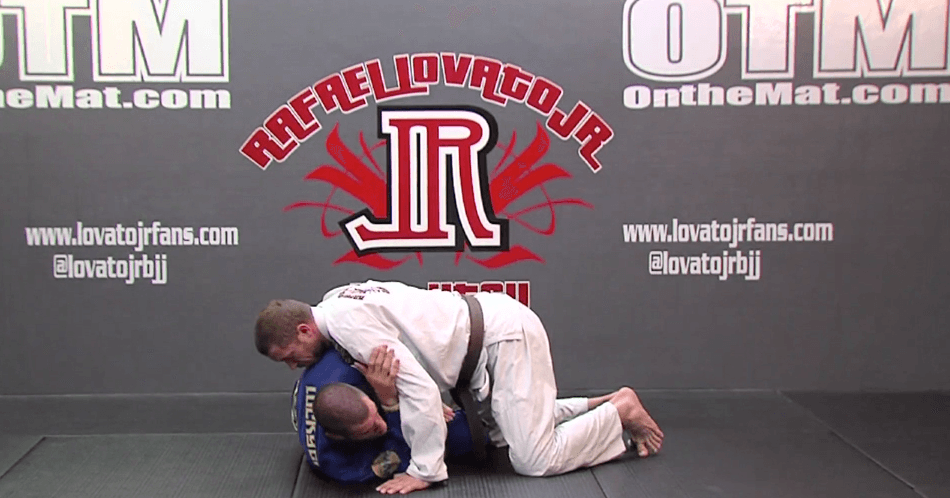
3. Ball Game
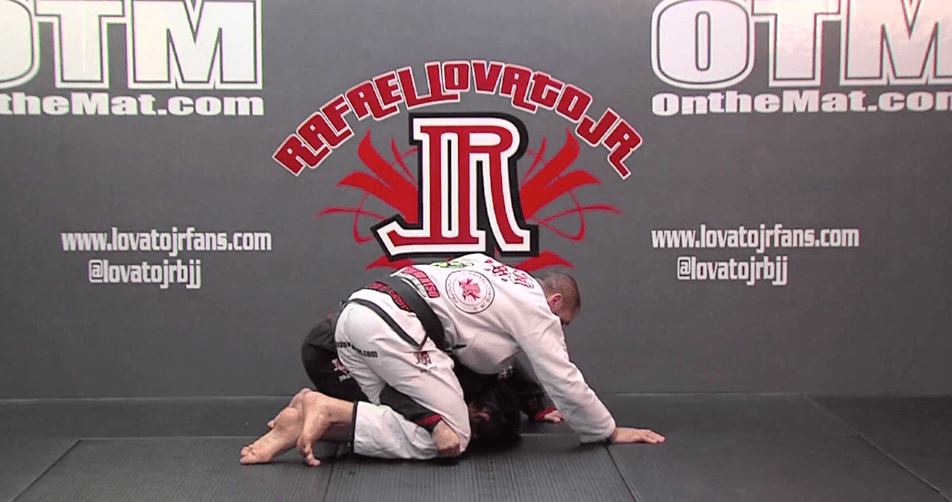
8. Over Under Pass Counter (Options)
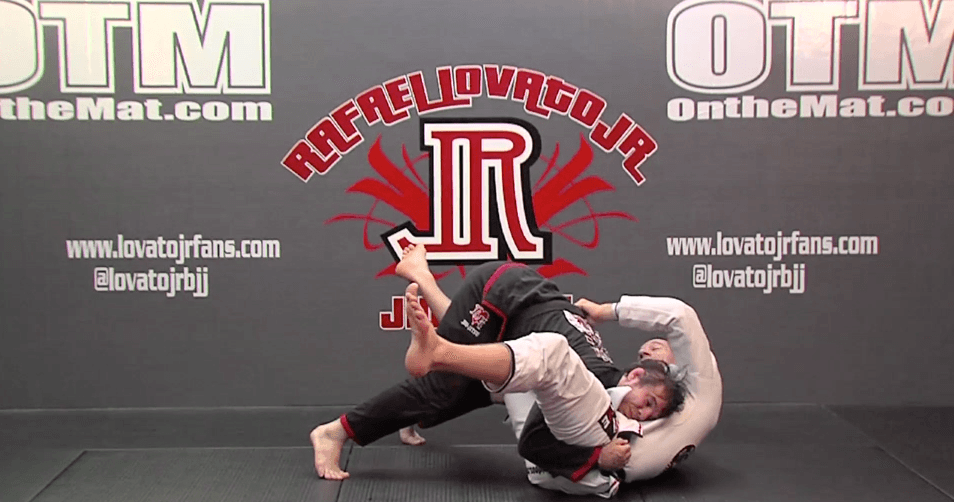
10. Over Under Pass (Counter To Sneaky Sweep)
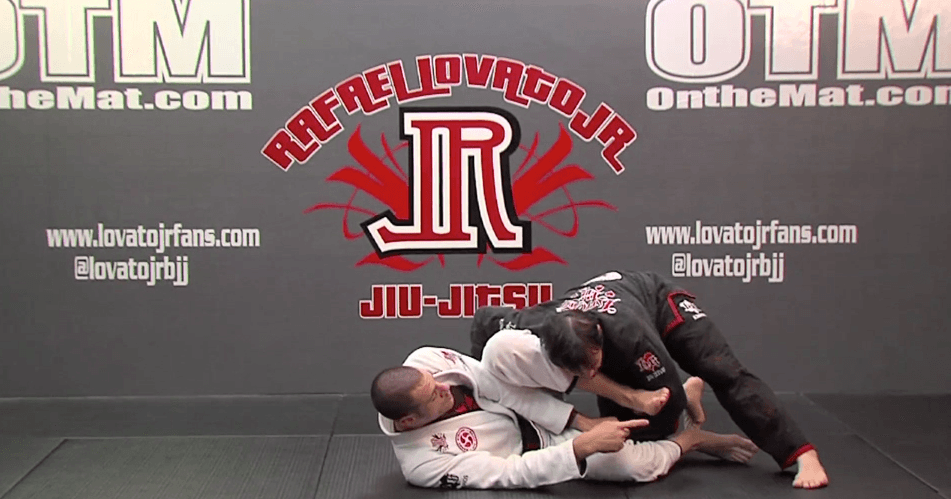
11. Over Under (Foot In Opposite Bicep Defense)
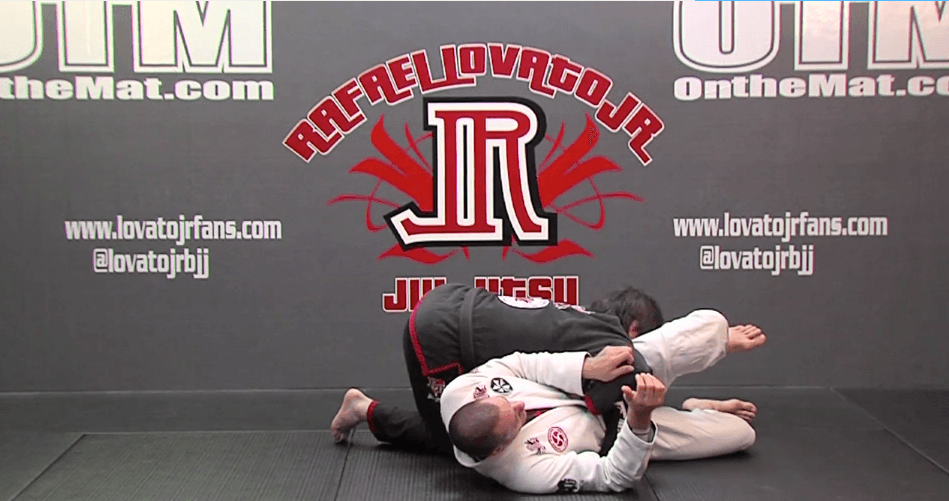
12. Single Under Stack Pass Defense
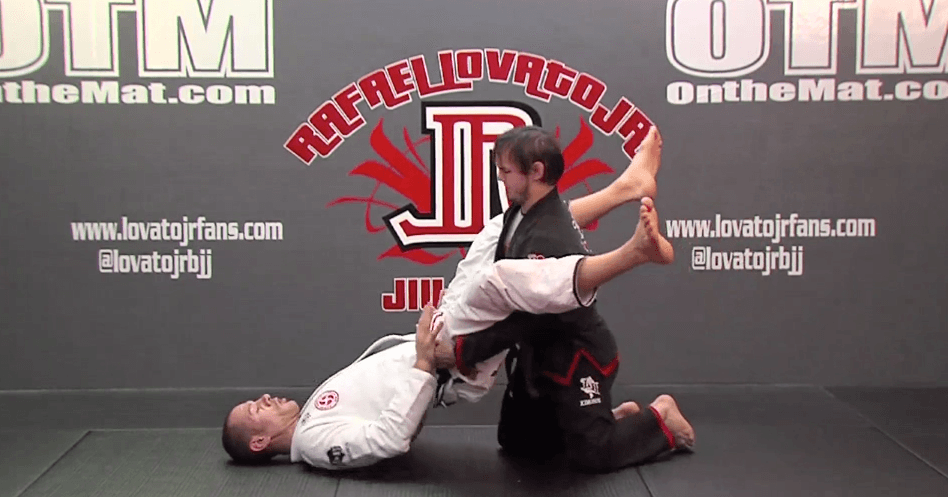
13. Double Under Stack Pass Defense
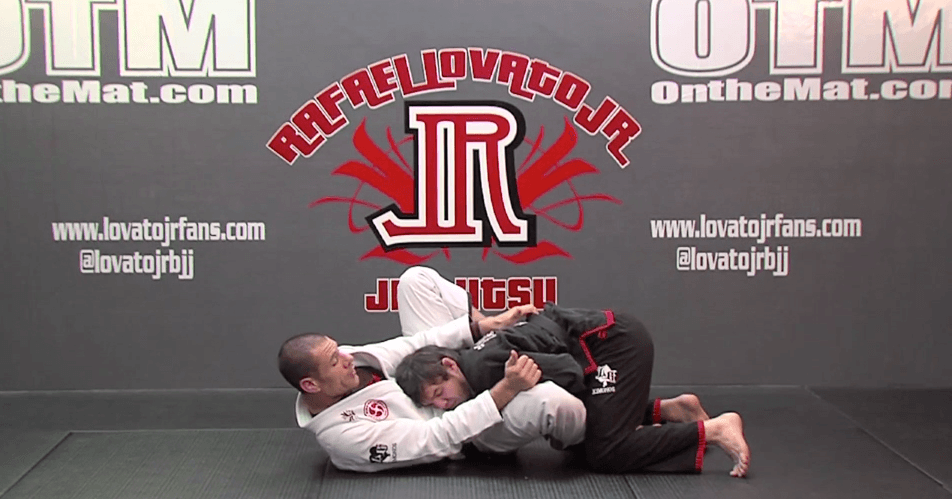
14. Double Under Pass Defense
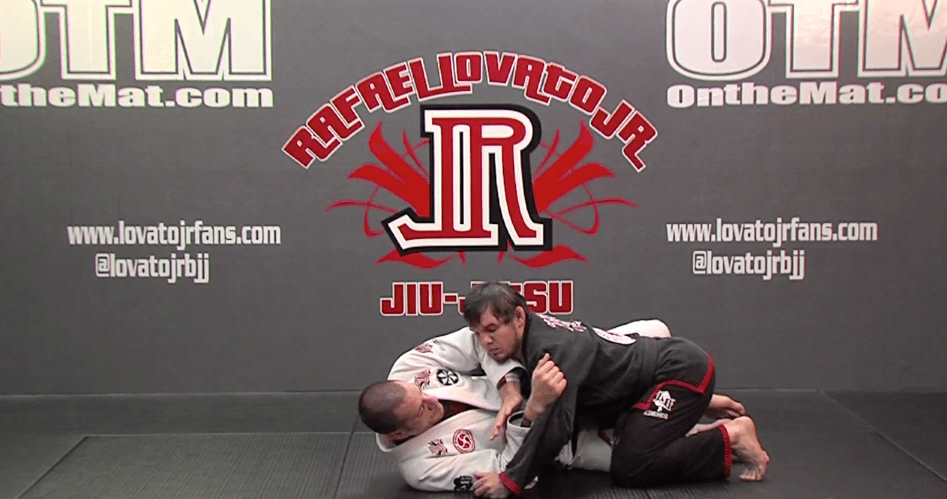
16. Framing Defense (From Half Guard)
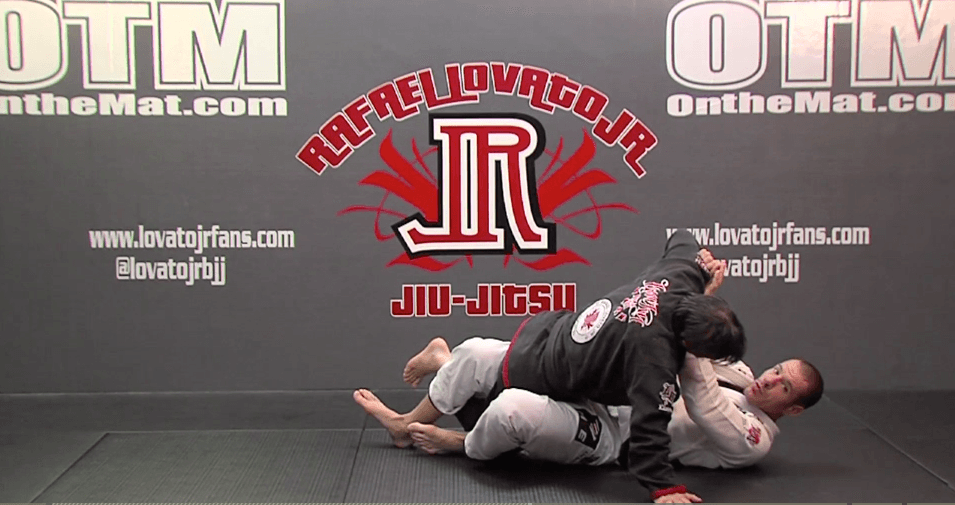
17. Knee Bump Defense (From Half Guard)
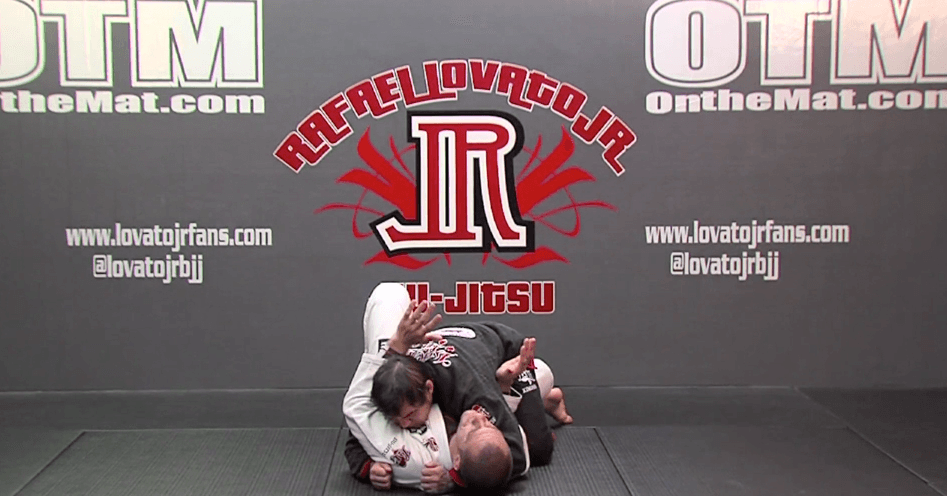
18. Bridge Defense (From Half Guard & Weave Pass Defense)
19. Putting It All Together
