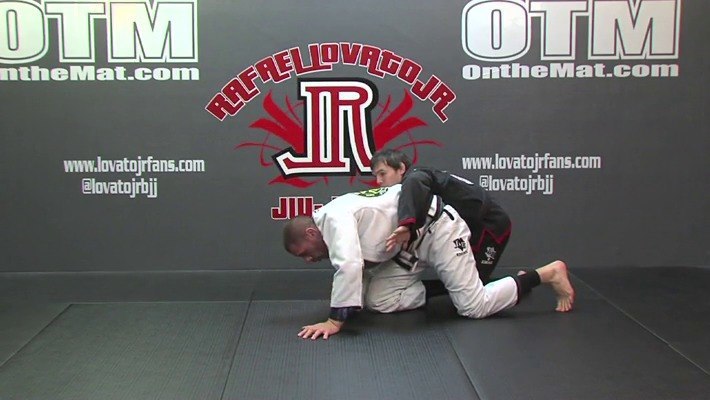
1. Getting Back To Guard From Turtle
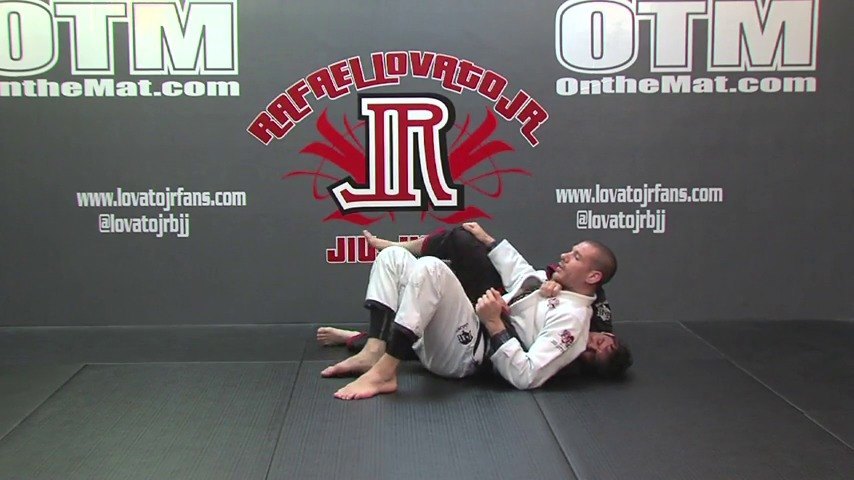
2. Arm Trap Reversal From Turtle
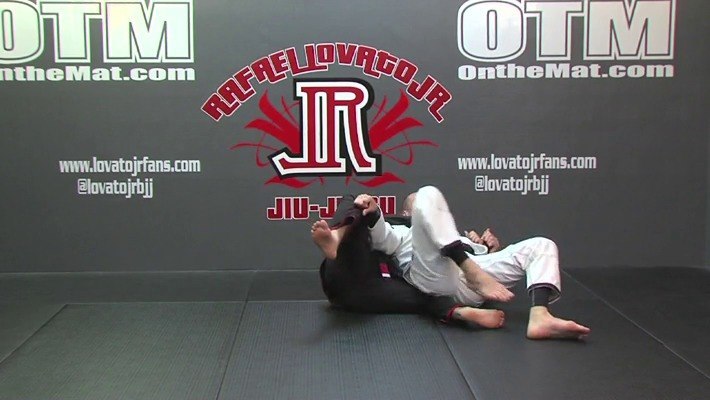
3. Blocking the Garcia Roll
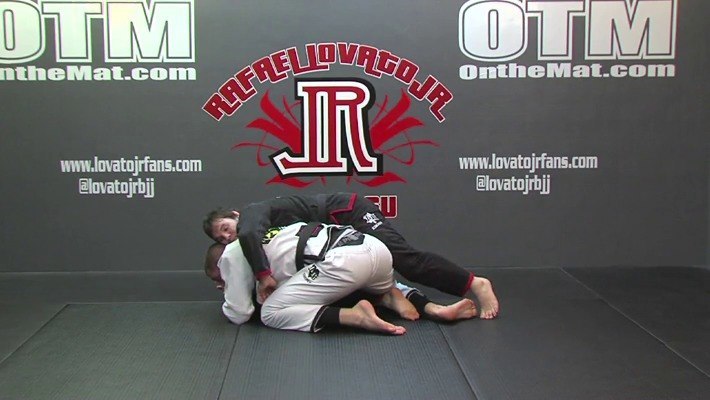
4. Shaking Them Off
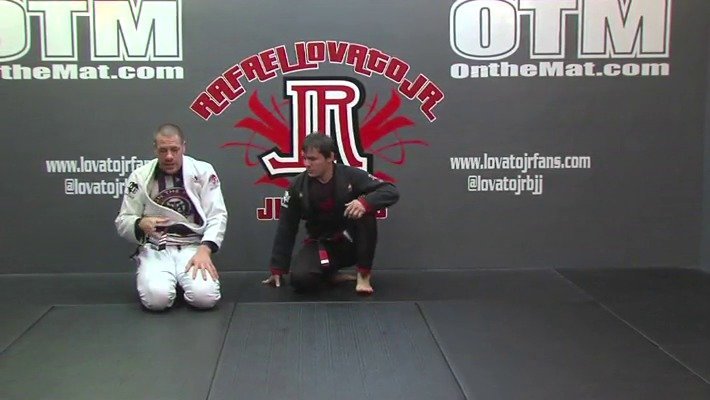
5. Continuing The Roll
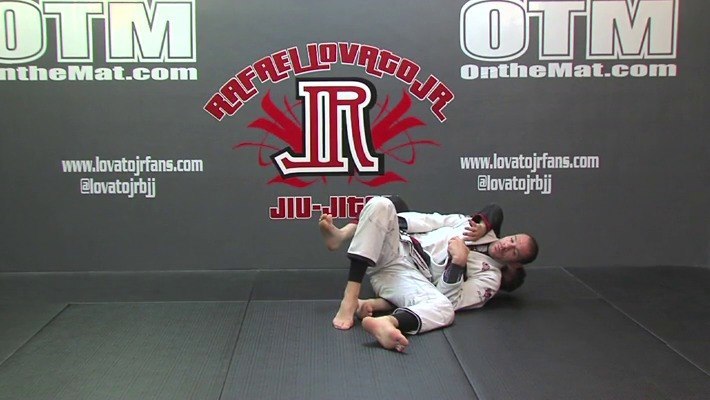
6. Side Escape From Both Hooks
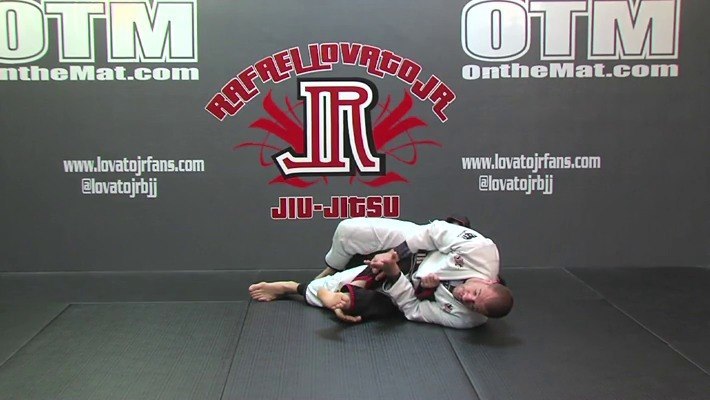
7. Attacking The Leg From The Escape
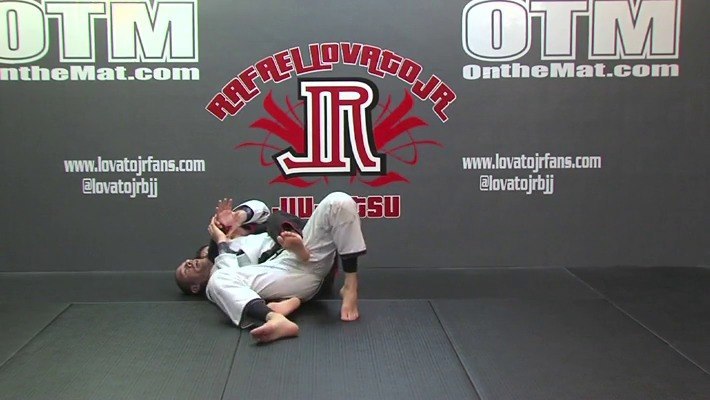
8. Two On One Escape
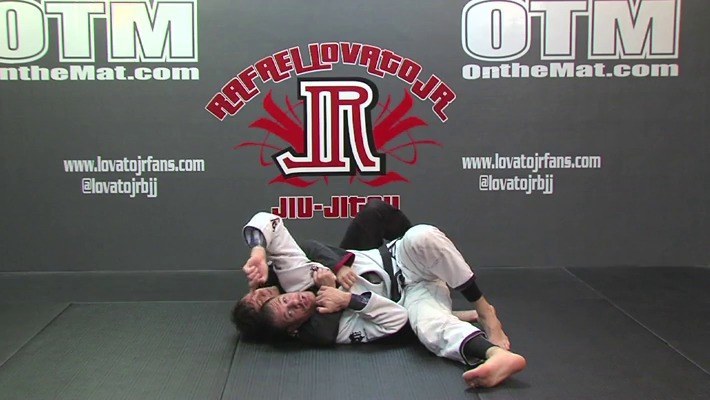
9. Grab Head Roll Out
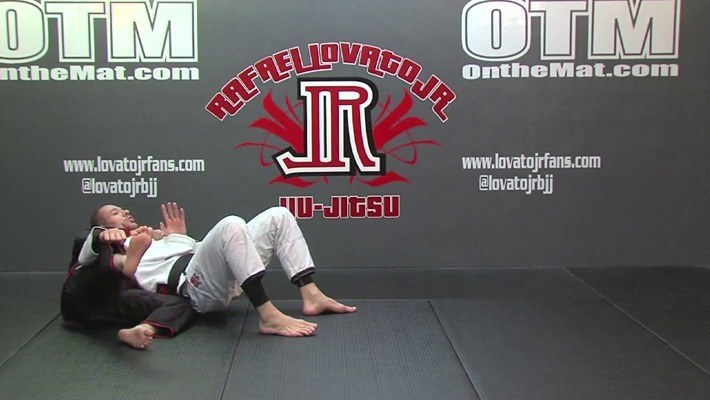
10. Hail Mary Twist
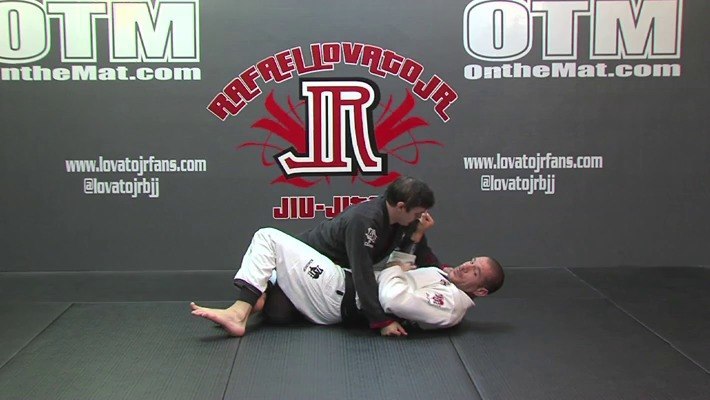
11. Framing Escape From Mount
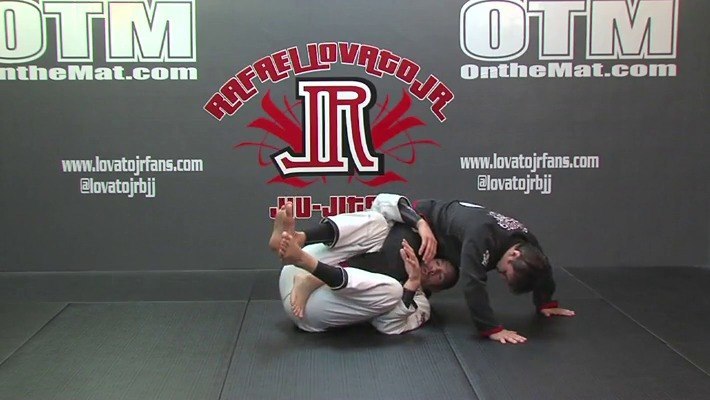
12. Framing Escape With Ankle Hook
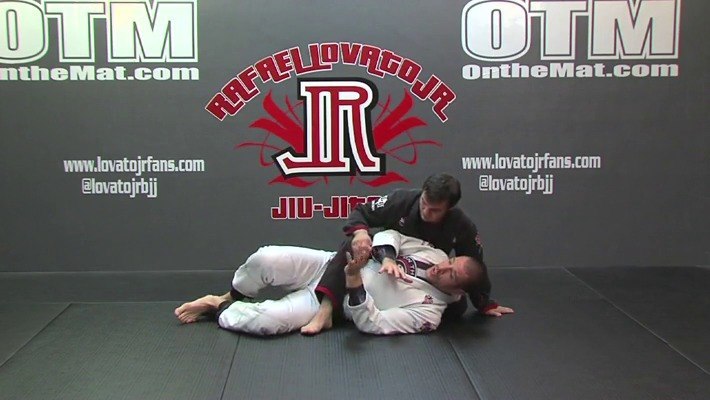
13. Escaping When They Put The Hand In The Collar
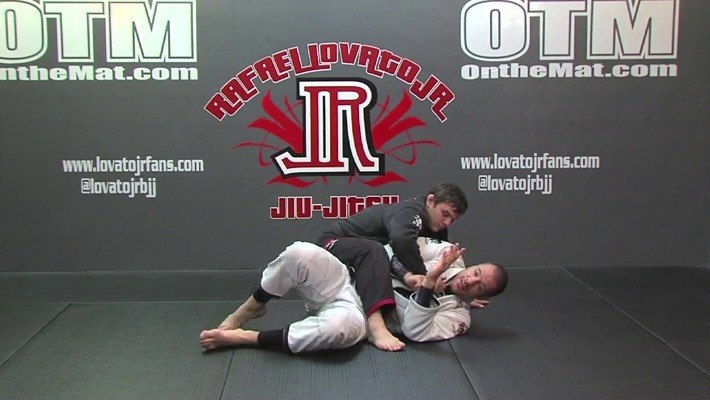
14. Escaping When They Attack Neck From Side Mount
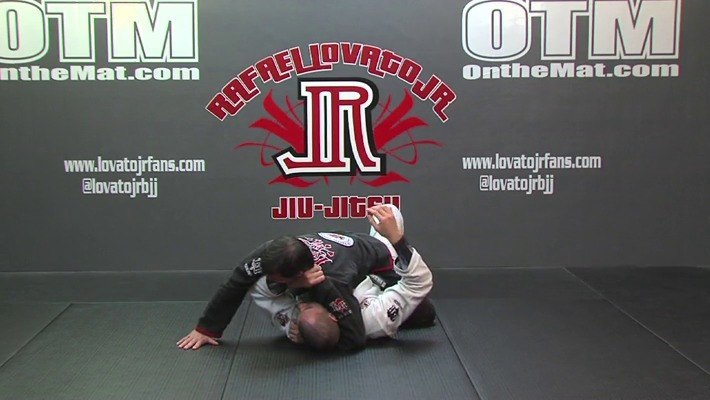
15. Power Bridge
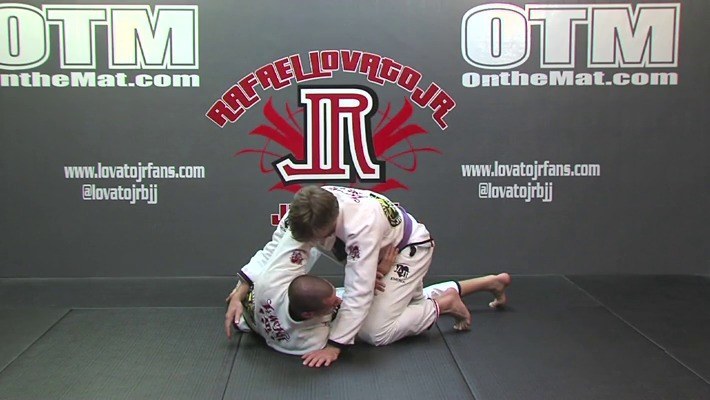
16. Escaping Side Control Back To Guard
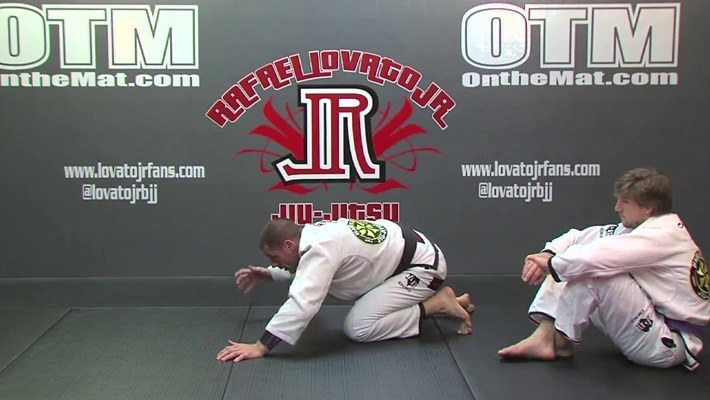
17. Escaping Side Control To Knees
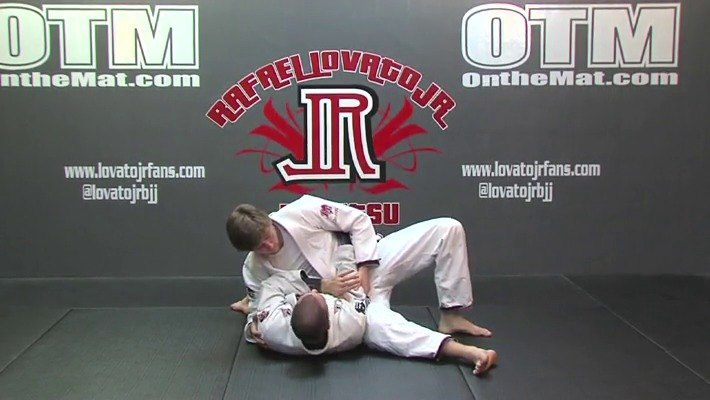
18. Escaping Side Control Variations
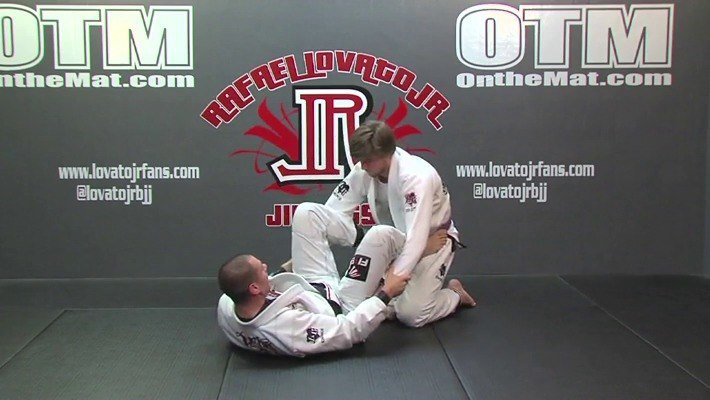
19. Preventing Knee On Stomach & Mount
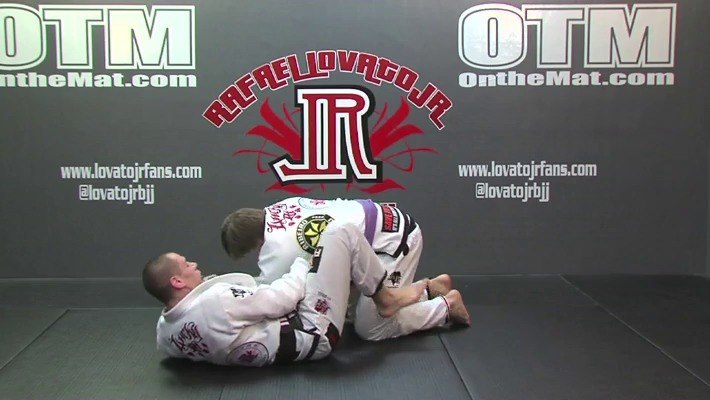
20. Ultimate Protection
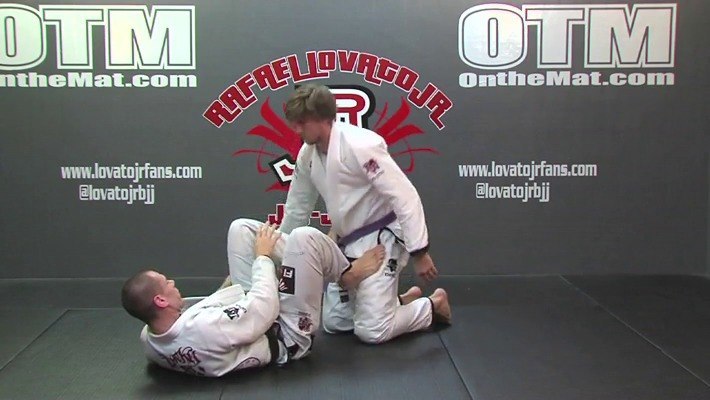
21. Escaping When Arm Is In Bad Position
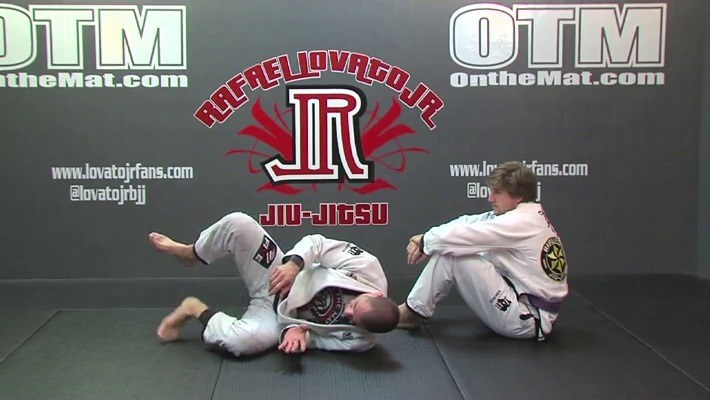
22. The Negative Side Roll To Guard
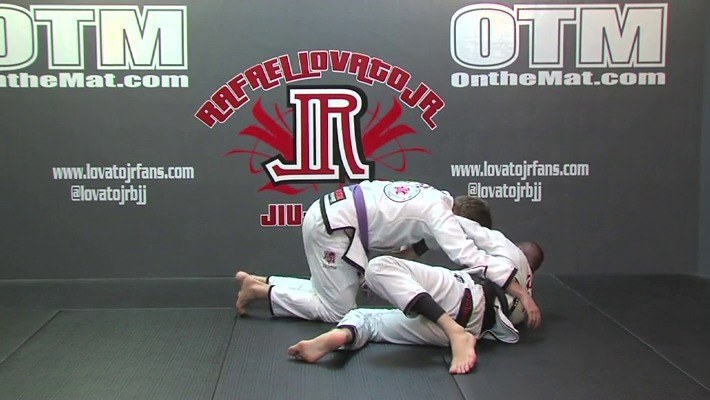
23. Side To Side Escape
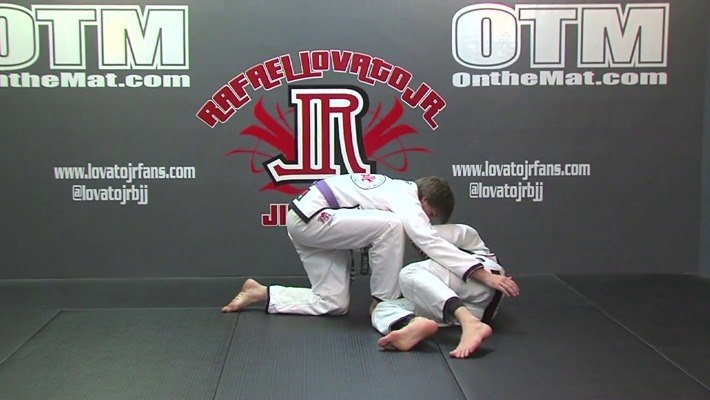
24. Escaping Knee On Stomach #1
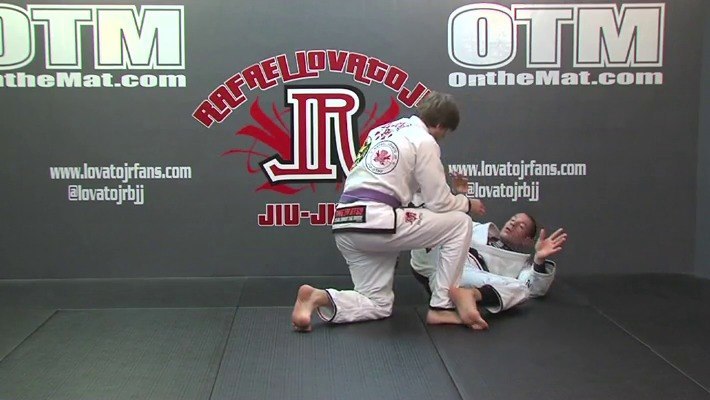
25. Escaping Knee On Stomach #2
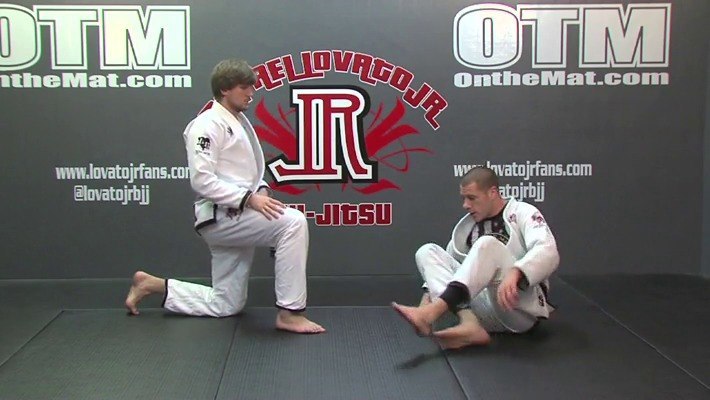
26. Escaping Knee On Stomach #3
