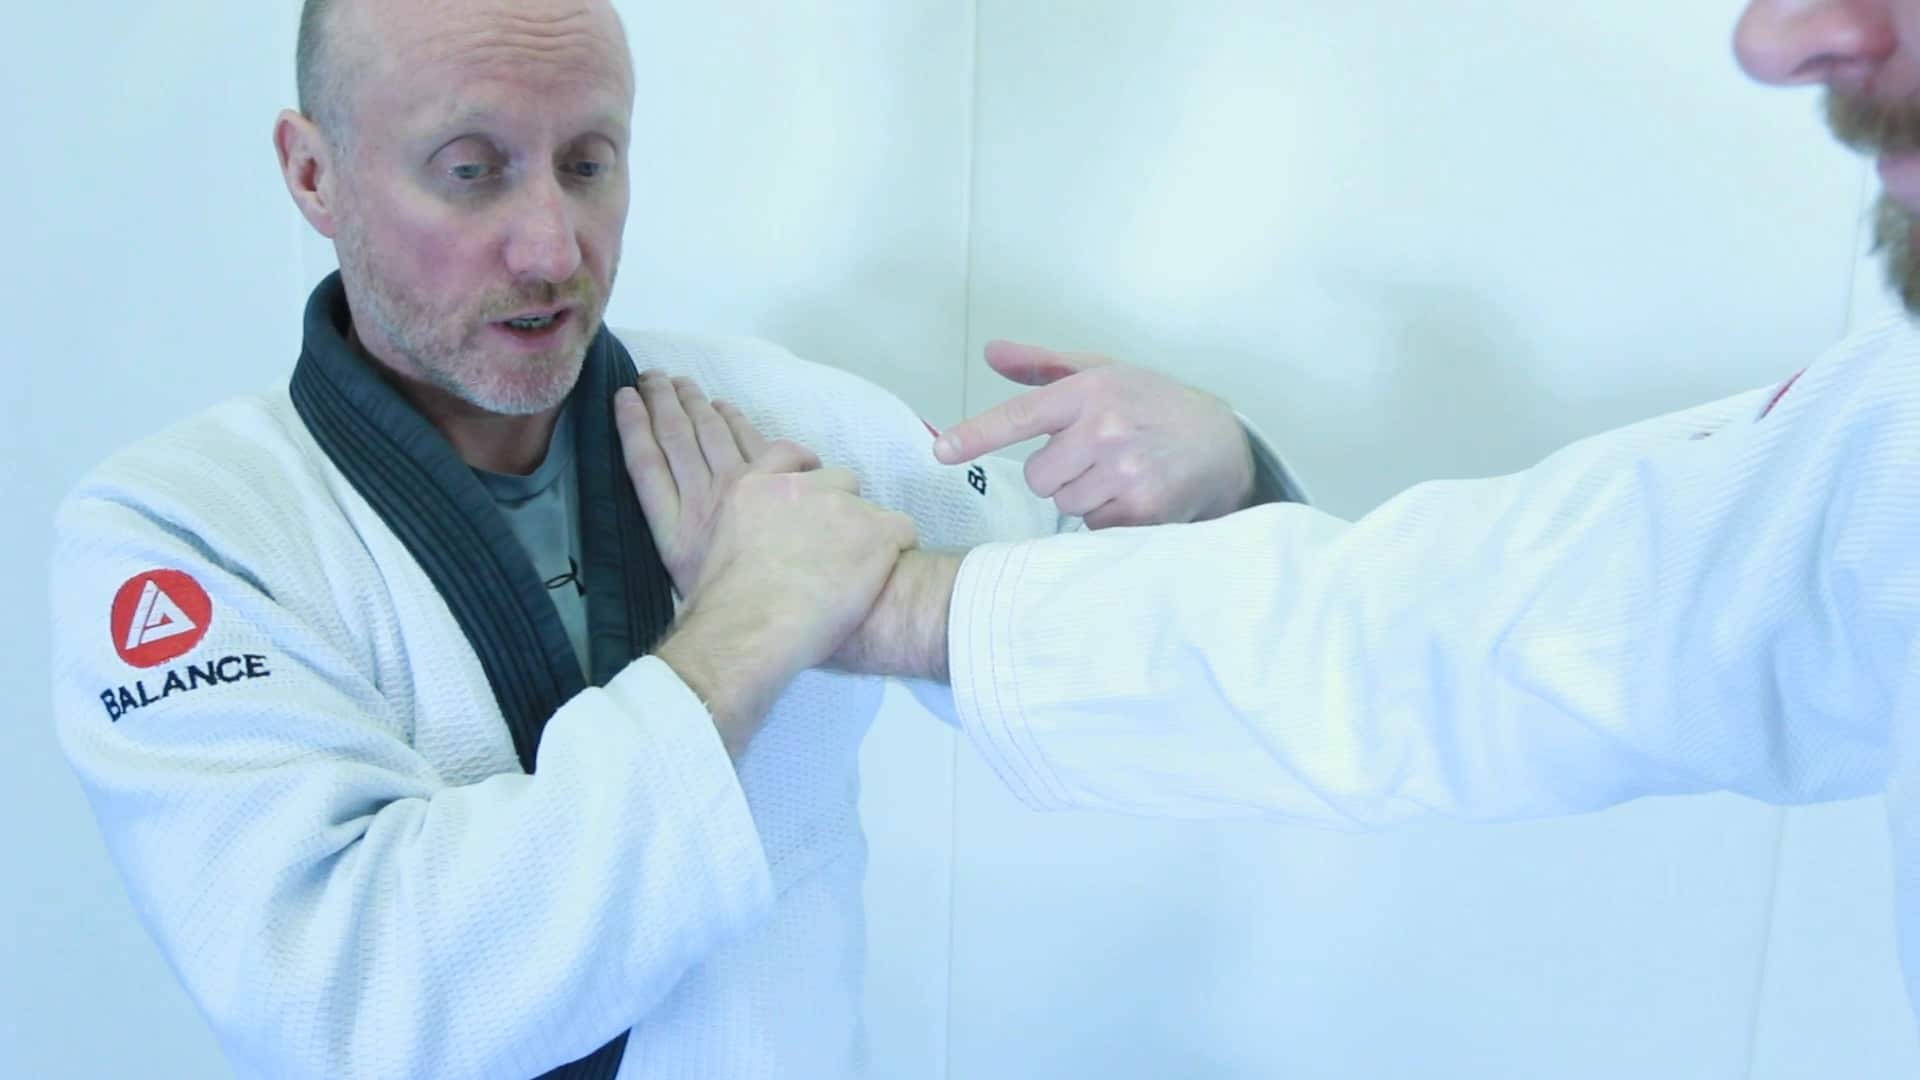
Wristlock: Nikyo Breakdown
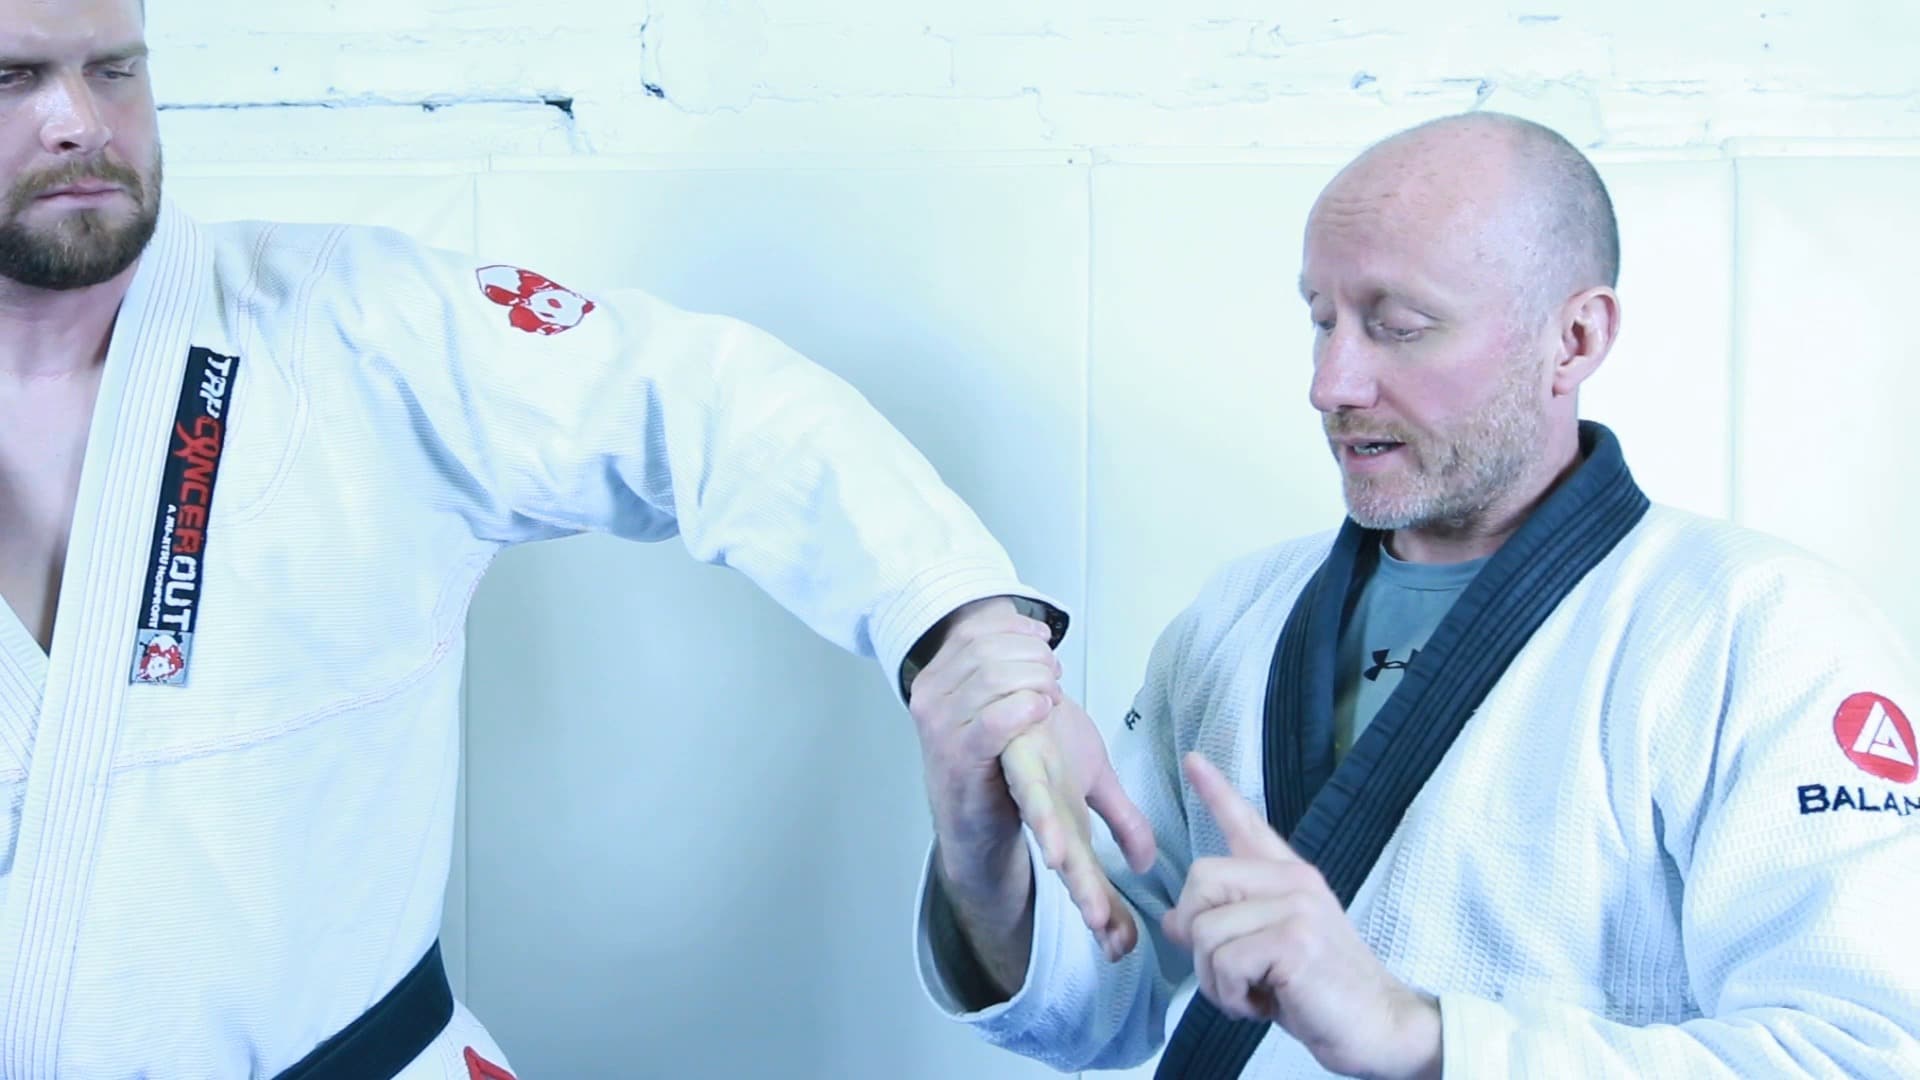
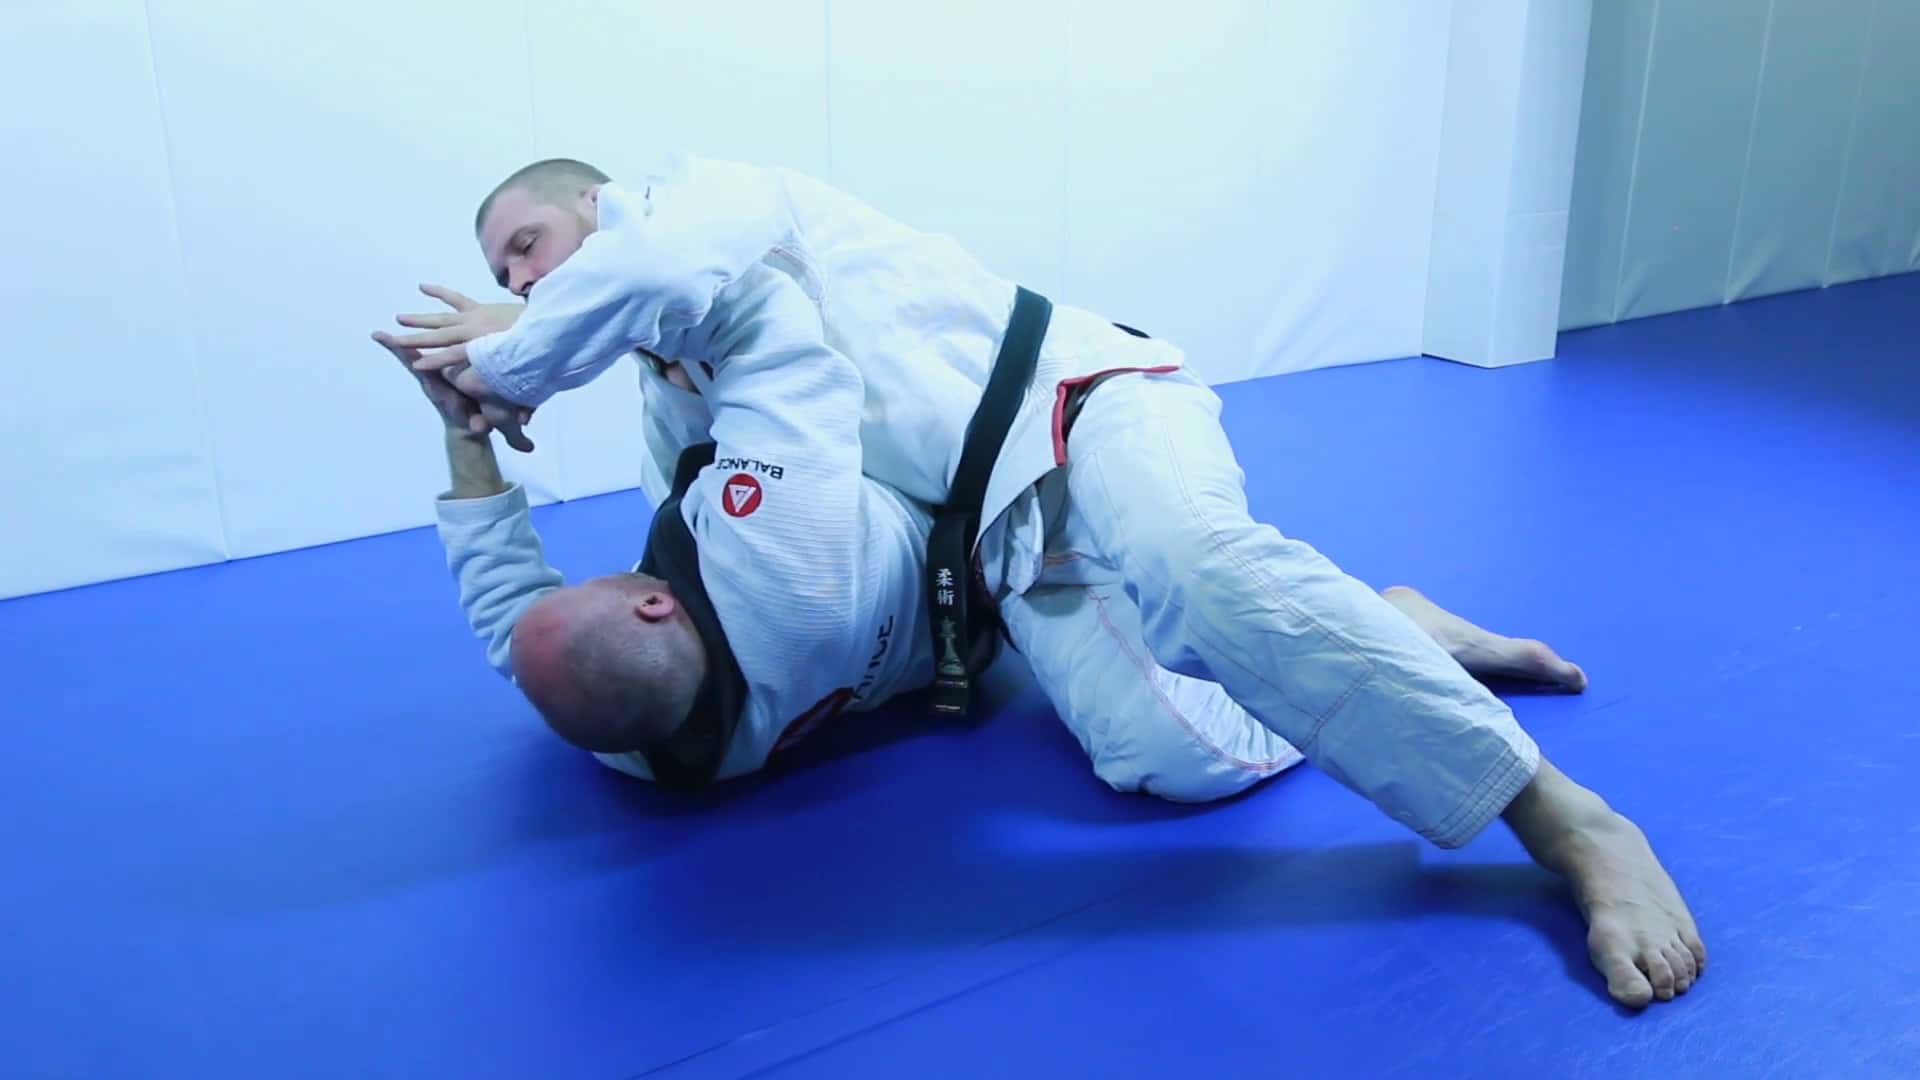
Wristlock: "Sankyo" Breakdown
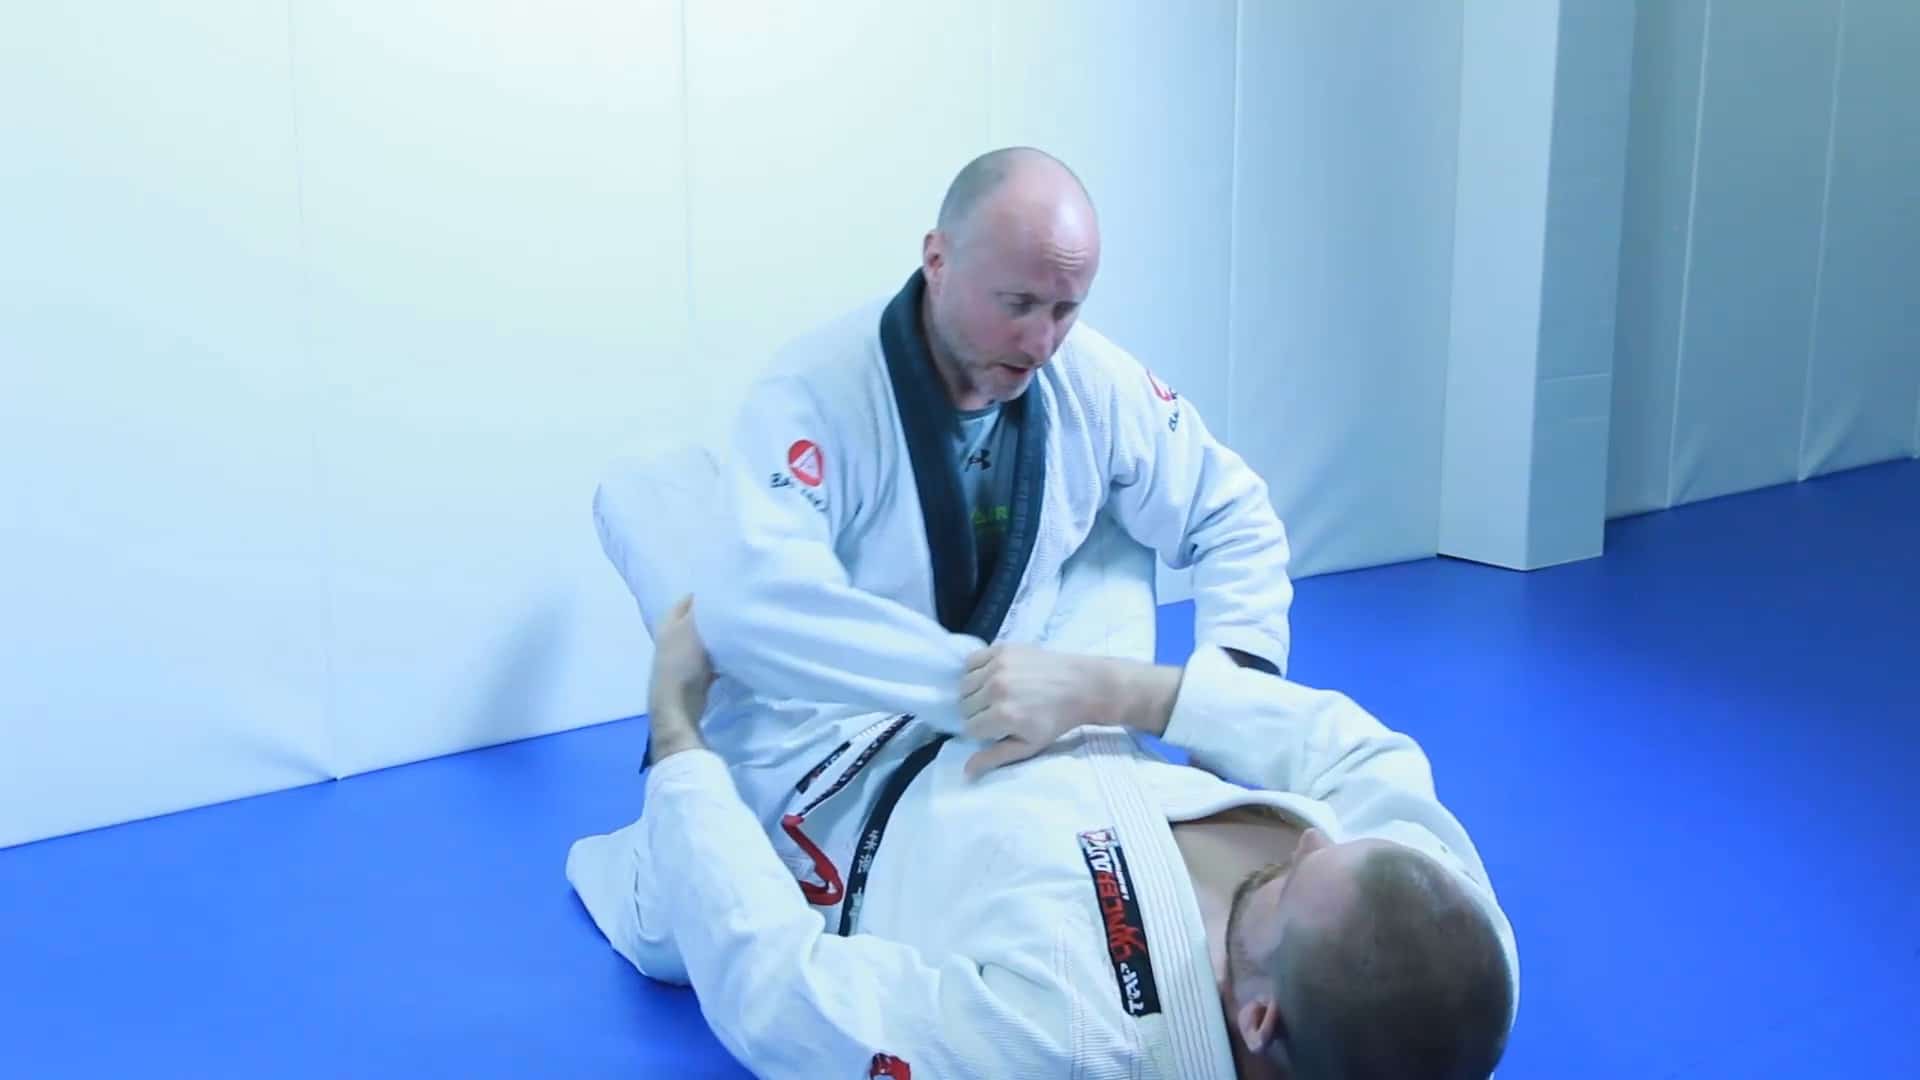
Lesson #1. Top Closed Guard Sankyo
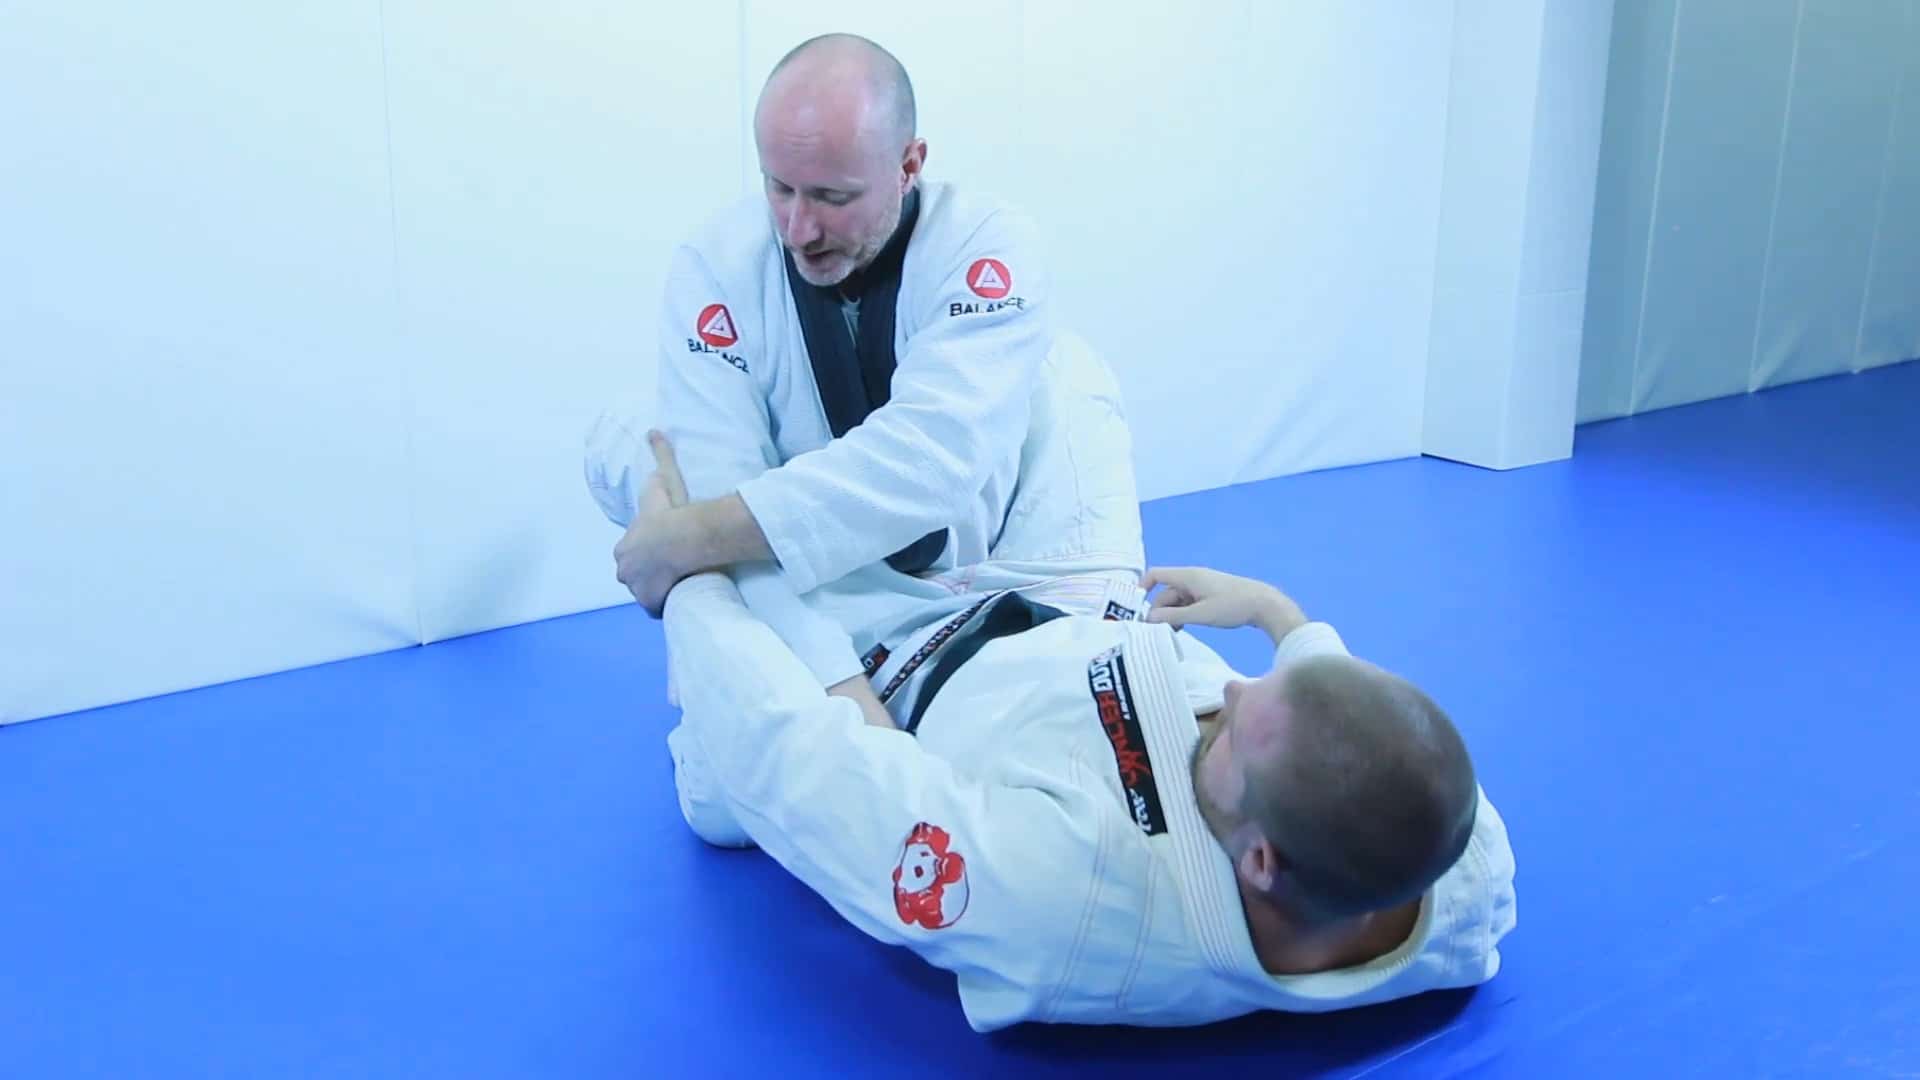
Lesson 2 Top Closed Guard Nikyo
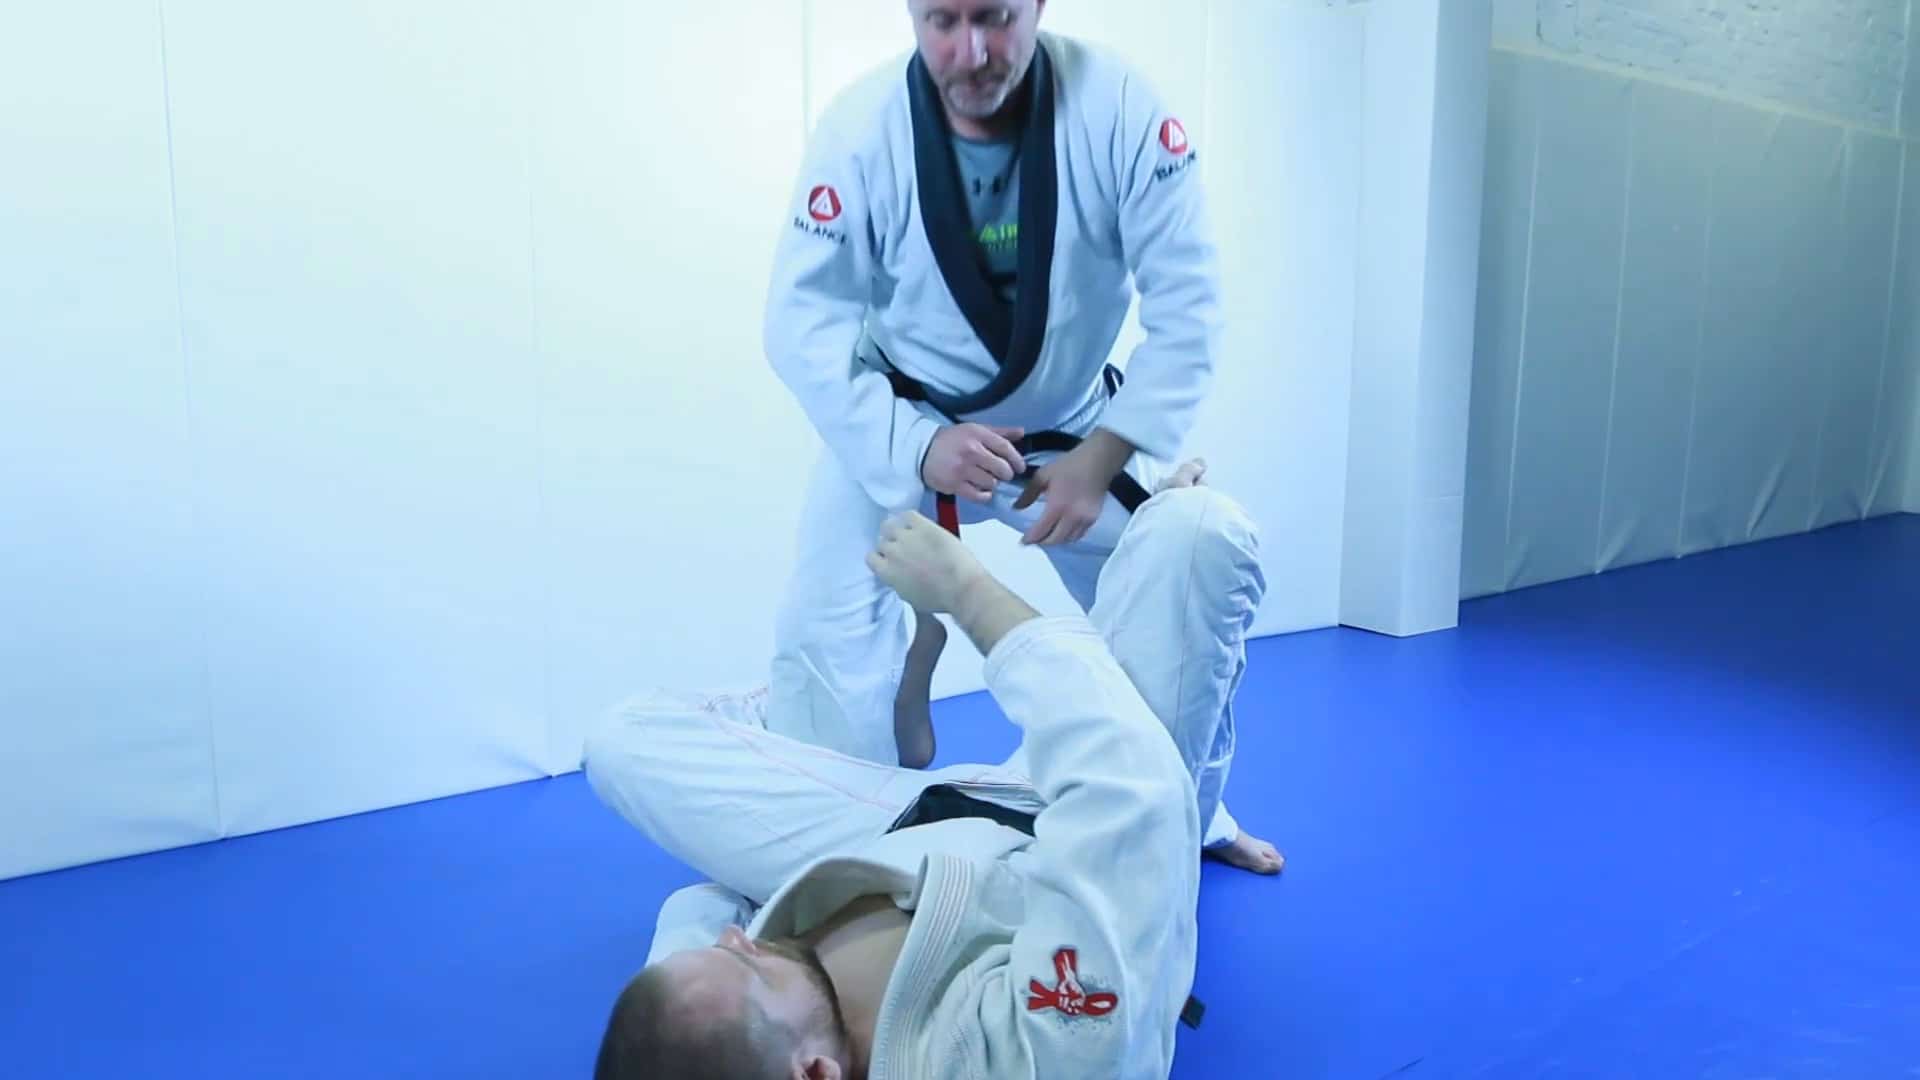
Lesson 3 Open Guard DLR Sankyo
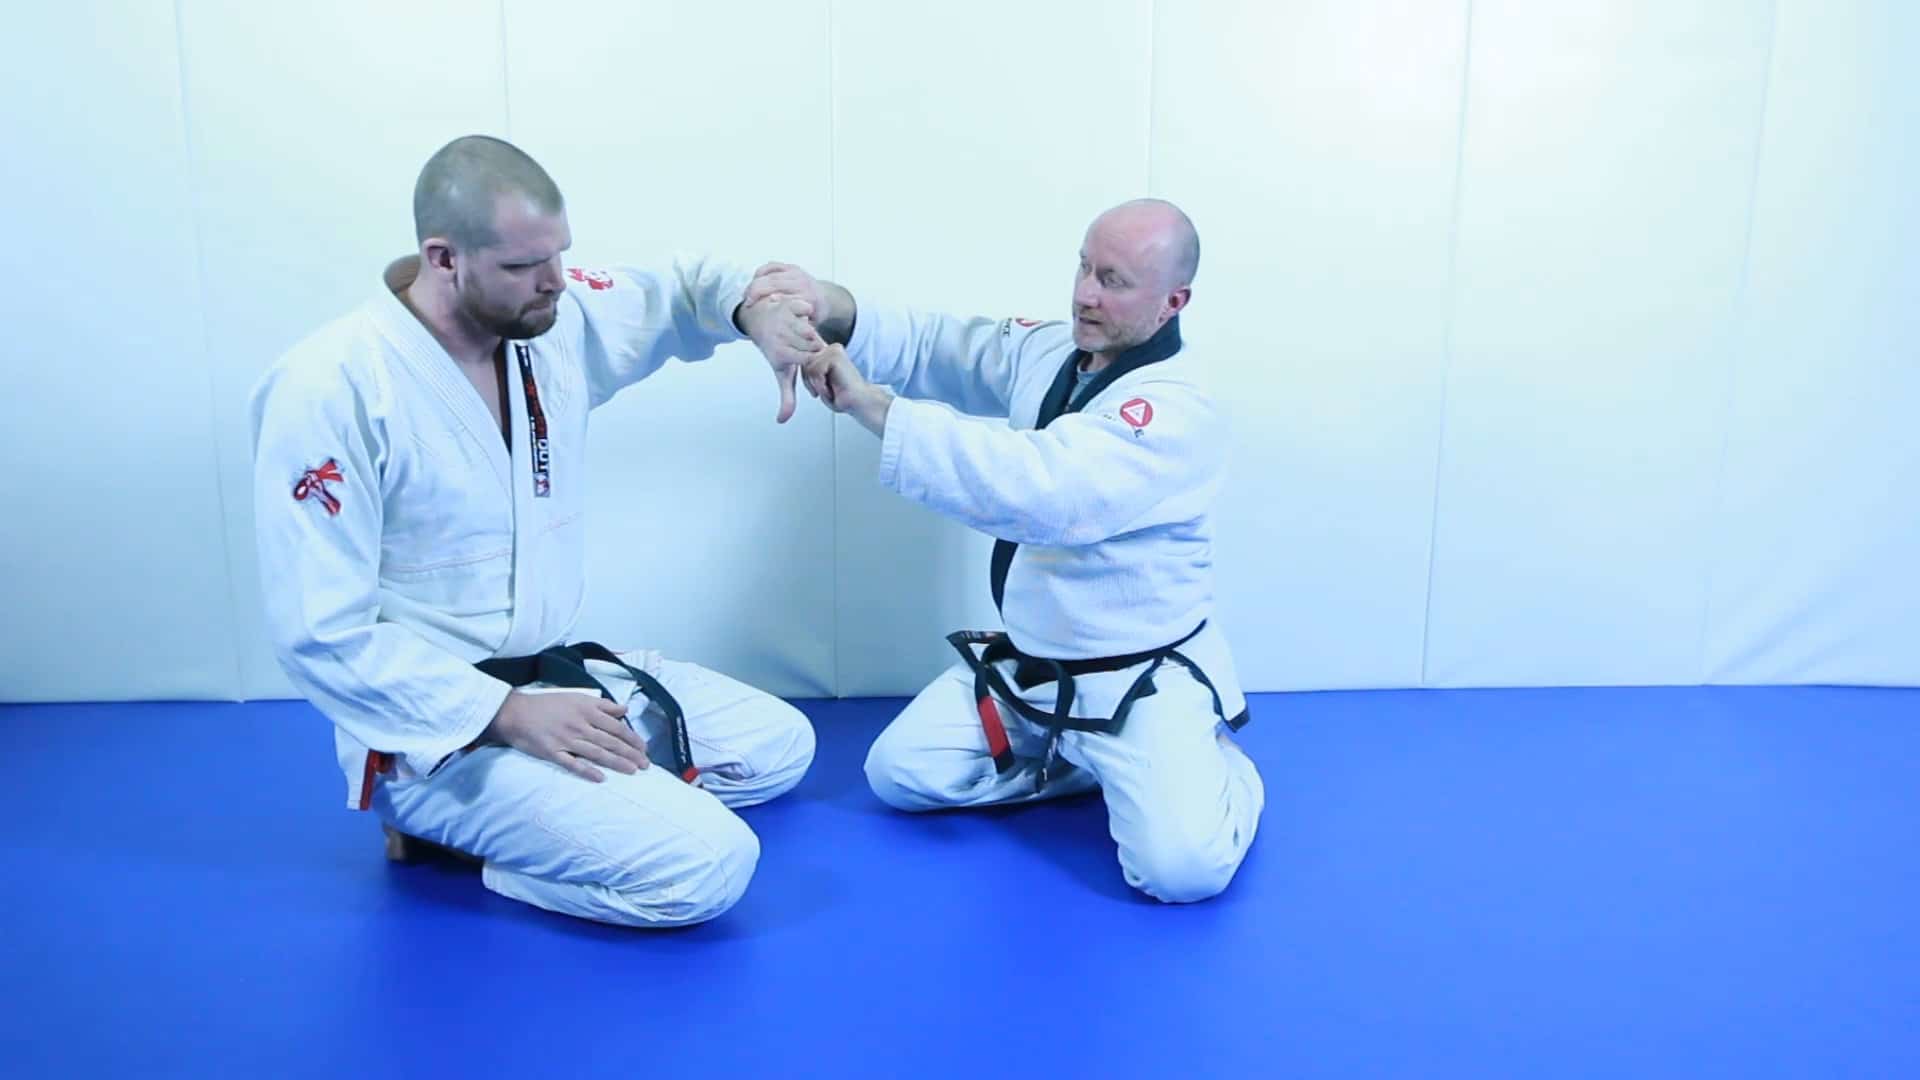
Course Intro + Aikido Wristlocks Explained
Lesson #4 Top Side Control Sankyo
Lesson #5 Guard Recovery Sankyo
Lesson #6 Mounted Arm Trap Sankyo

Lesson #7 Closed Guard Bottom Nikyo
Lesson #8 Double Lapel Grab Sankyo
Lesson #9 Cross Side Bottom Sankyo
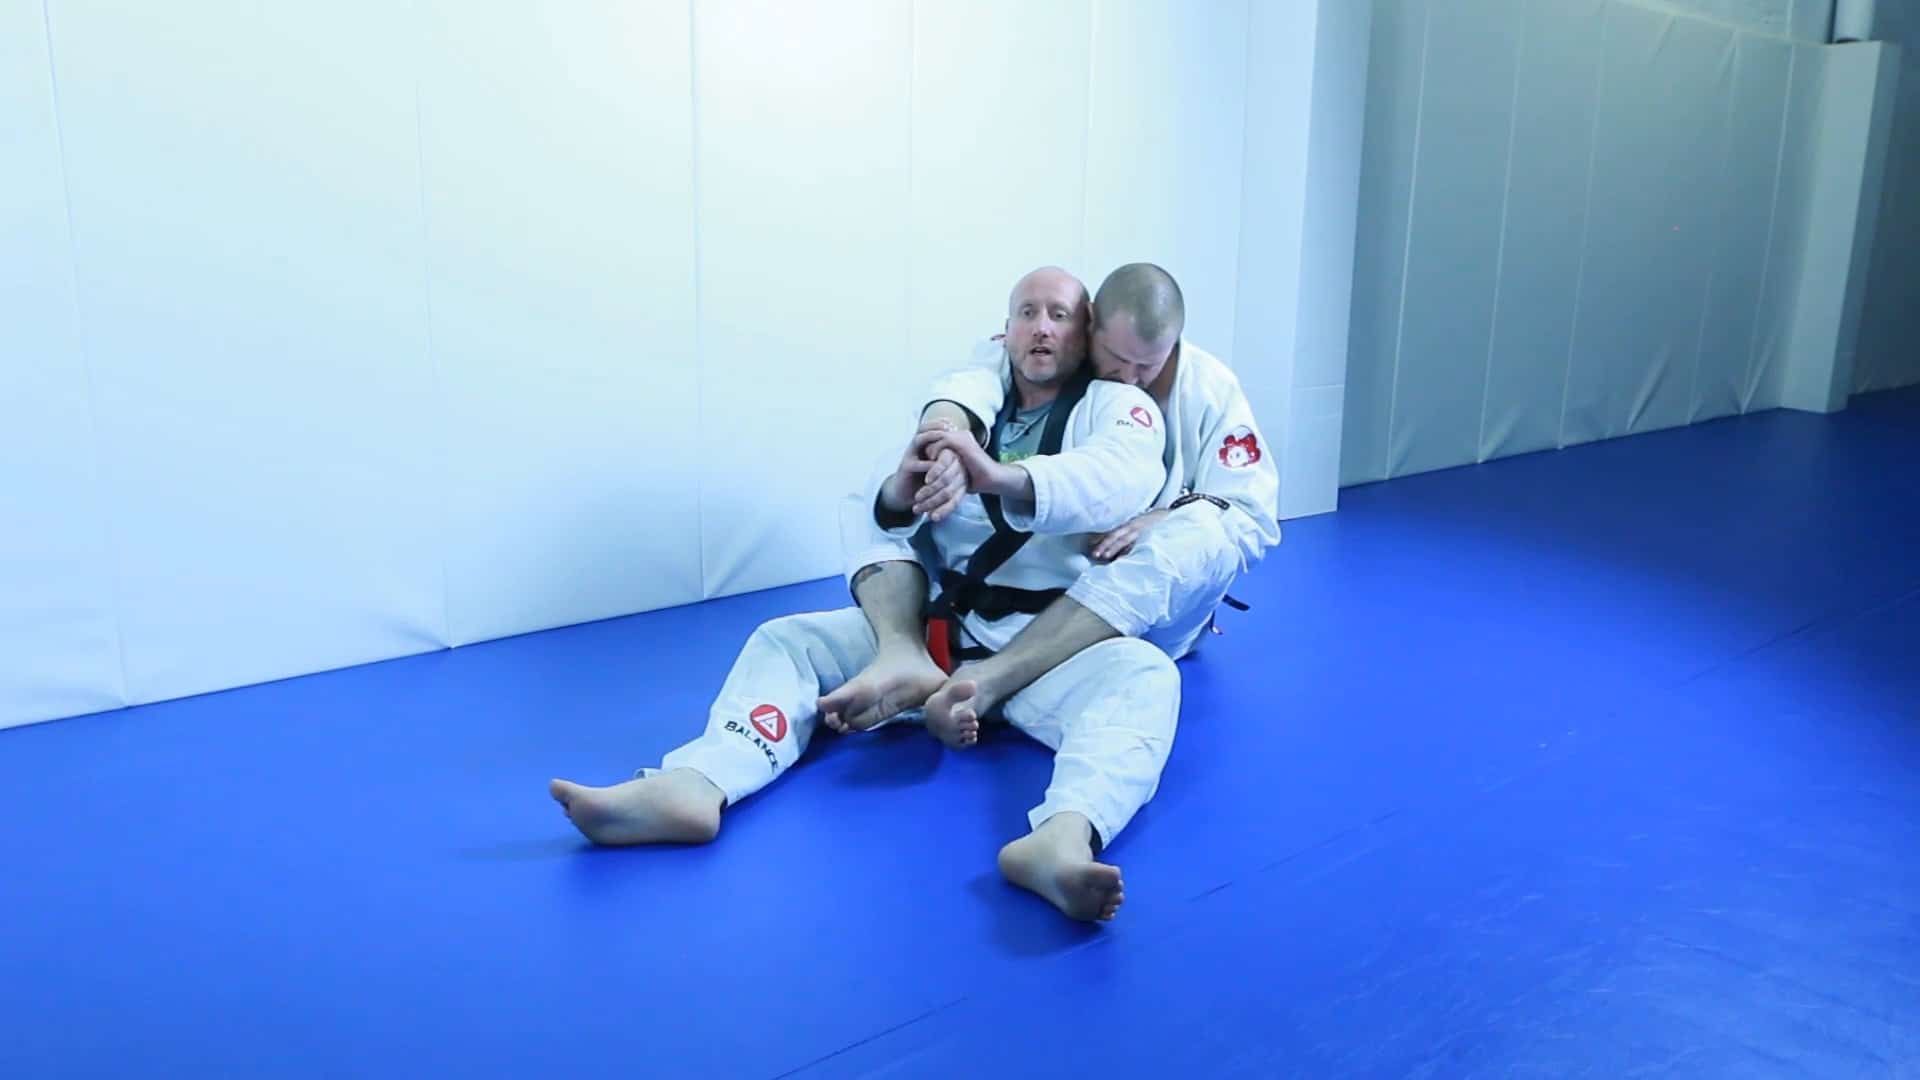
Lesson #10 Back Control Set Ups
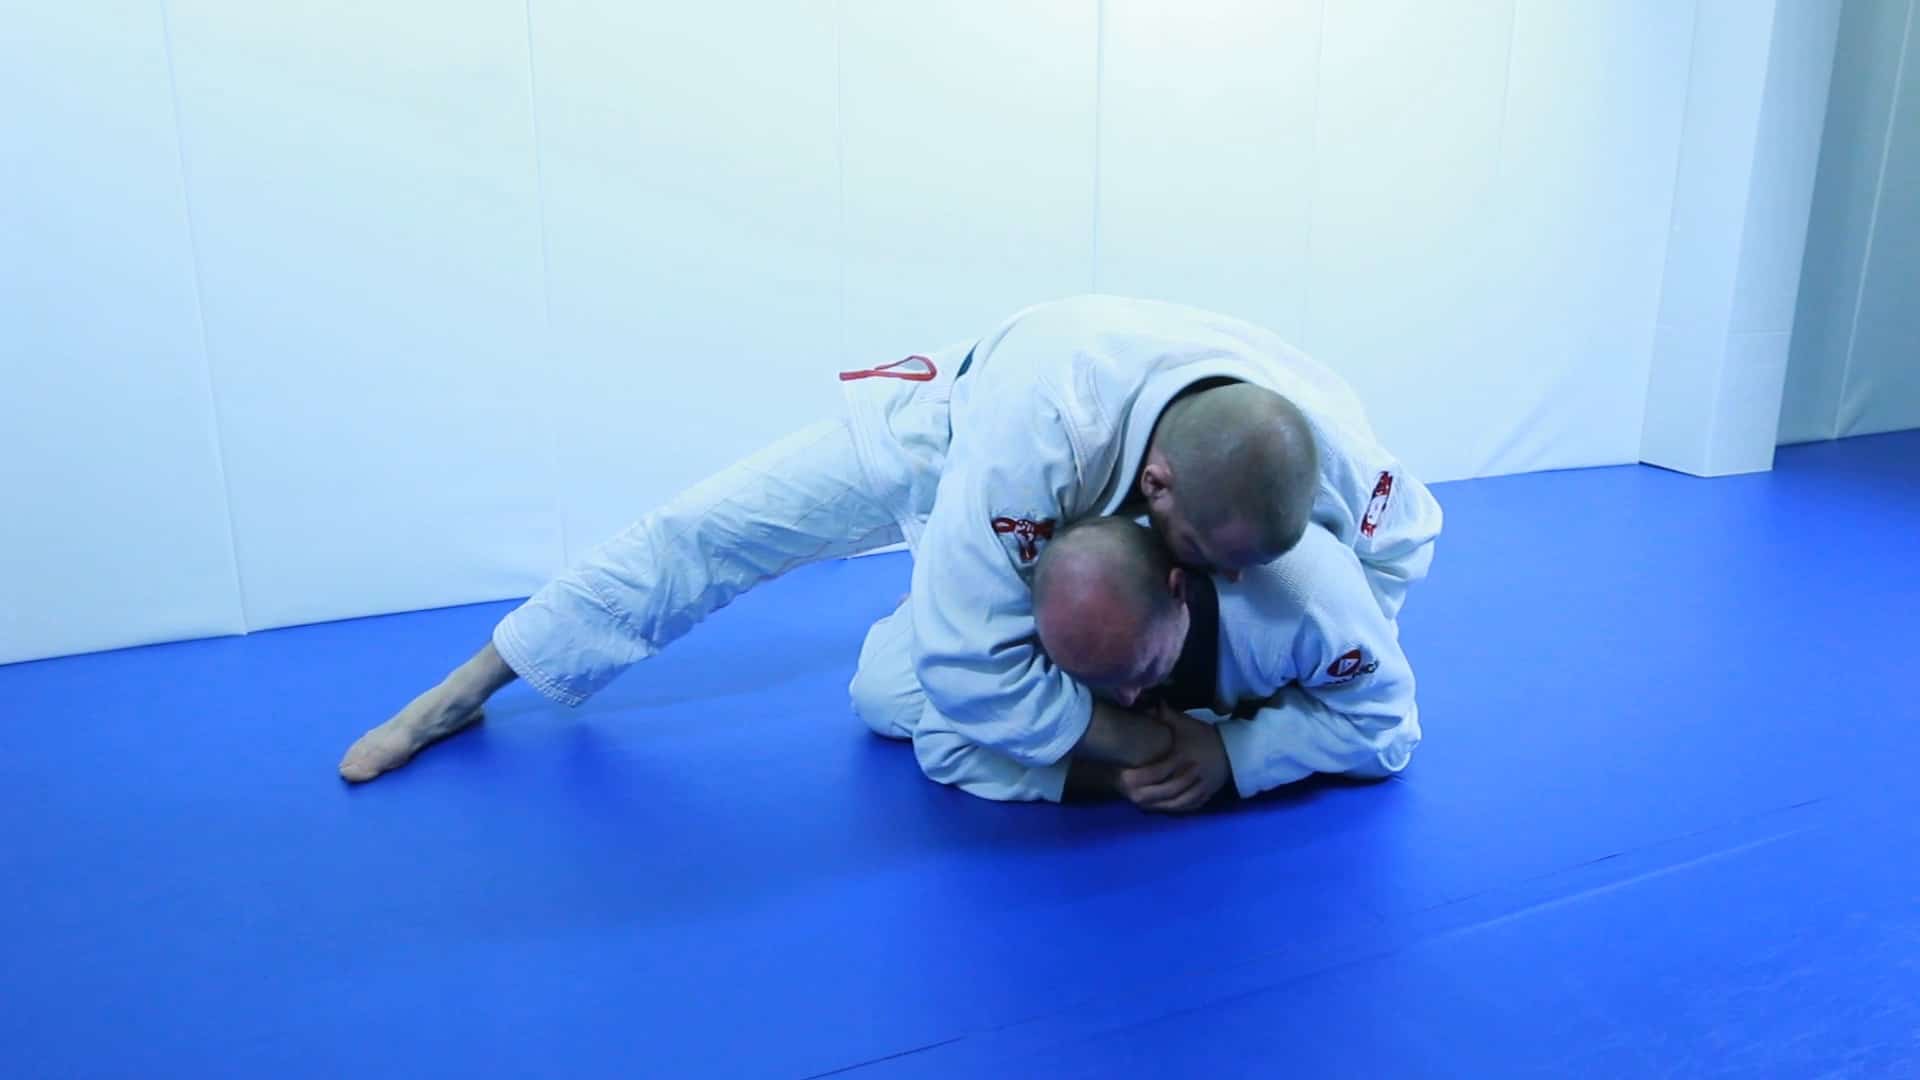
Lesson #11 Turtle Setups